Updated: September 1, 2022
System imaging is a nerdy topic. But it is an important topic. If and when you introduce big changes to your operating system baseline, you want to have the ability to roll those changes back in case of an error or some odd incompatibility. Different operating systems - and filesystems - resolve this quandary in various ways. The most prevalent, common among them is system imaging - you grab a time snapshot of your system state, and later on, restore it if you need to.
In Linux, the quintessential tool for the job is the powerful CloneZilla, an awesome, versatile tool about which I wrote a complete tutorial back in 2011. It works great, but it has one caveat. It's nerdy even for nerds, and requires a far deal of expertise to use with confidence. Enter RescueZilla, a open-source disk management suite designed to provide the full CloneZilla functionality with a convenient GUI on top of it. Well, let's explore.
More about RescueZilla
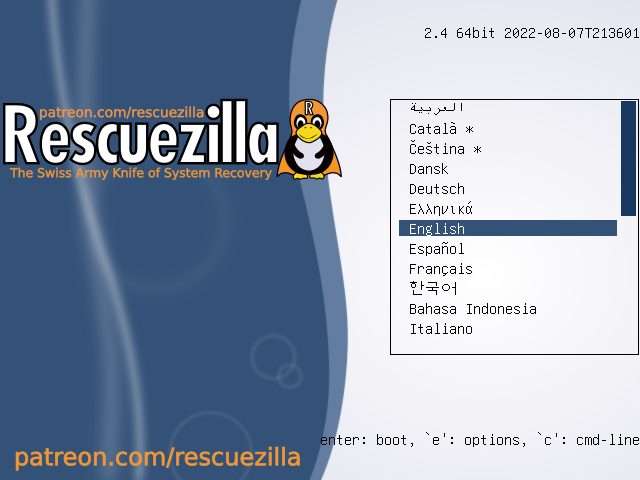
The software comes as a bootable live CD/DVD/image based on Ubuntu 22.04 with a simple desktop, plus a handful of utilities, including Firefox, GParted partitioning wizard, text editor, and a few other tools. This means you can and should be able to boot RescueZilla on any reasonably modern computer, and also have basic network and diagnostics functionality on top of the backup/restore tooling.
I decided to test RescueZilla in a virtual machine setup, which does not necessarily reflect your everyday scenario, but I slightly complicated things to make the ordeal more robust. The VM has Windows 10 installed it, and there's a second disk that I'm going to use as a backup destination (and later restore) for the system images.
RescueZilla booted without any problems, albeit in 800x600px resolution. However, right-click on the desktop, and you can easily adjust the resolution to anything you need, and then continue working. You can use the partition tool before running the namesake app, or if you like your command-line, go there and use CloneZilla directly.


System imaging (backup)
I started with the backup option, and I tried both the full disk image and individual partition image. The first step went fine, but then, when I wanted to select the destination where to save the images, the second disk wasn't showing up in the list. This is because it hasn't been initialized. So I powered GParted, created a new GPT partition table, created a single partition, and formatted with NTFS. However, if you don't have a second local disk, you can also save the image to a network destination.


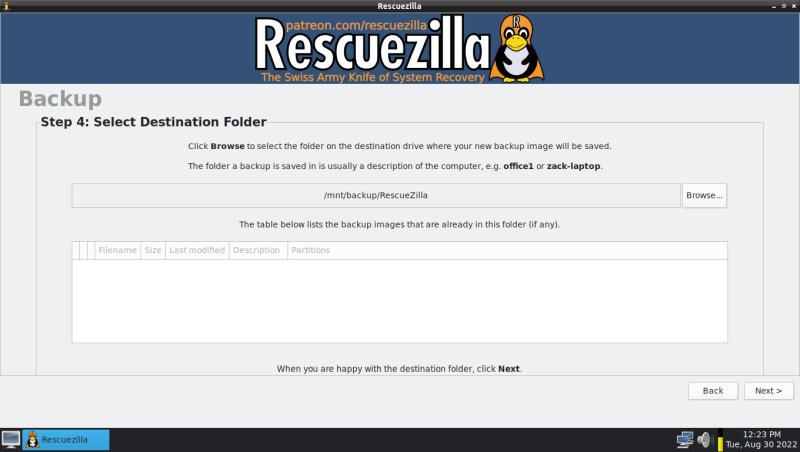
Your next step is to choose the destination folder. This feels a bit less intuitive, but you do need to click on the Browse button and then either locate or create a folder where you want to save the image. Next, you can name the image (other than its default).


The next step is to choose the level of compression. What RescueZilla does not do is offer you an option to encrypt the image. This is something you will need to do manually yourself after the fact. And that's more or less that.
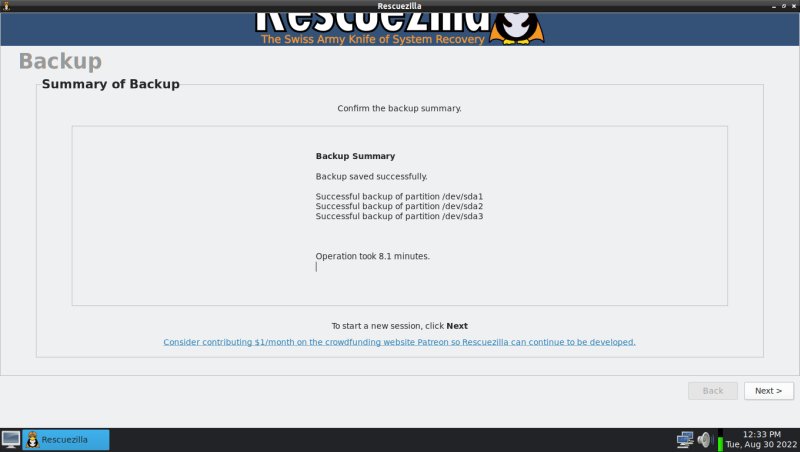
I let RescueZilla complete the imaging process. The performance is quite decent. I did this on a 2018 laptop, with only two cores dedicated to the VM, a standard SSD shared between the host and the guest, as well as used both for reading and writing the image data (on the two virtual hard disks), and for the stock Windows 10 installation, the whole process was done in about 8 minutes. Not bad at all.


I then ran a verification of the saved image, and the procedure took 2 minutes.


System restore
I did another backup, saving only two of the three partitions on the disk, but the process is identical. Then, I tried to restore the image(s). Here, things went fine, but there was a tiny snag - another less-than-intuitive moment in the GUI.
When you select the restore destination, there's a checkbox that says: "Overwrite partition table". It's a bit confusing, and alarming. If you don't intend to restore entire disks, only specific partitions, you definitely do not need that. But then, how you select the destination partition(s) in the table is a bit tricky.

The thing is, if you untick "Overwrite partition table", all of the partitions listed in the table will also be unselected. If you try to manually select, it will complain that no destination has been selected, and that you need to choose one from the dropdown menu.
What this actually means is, in the table, on the far right, where it says Destination partition, you need to click below that label, for each line (each listed partition), and then it will show you a dropdown menu and allow you to select partitions. You need to make sure you match the partitions correctly, e.g.: restore a 50MB partition to a 50MB partition! After that, it's quite easy.


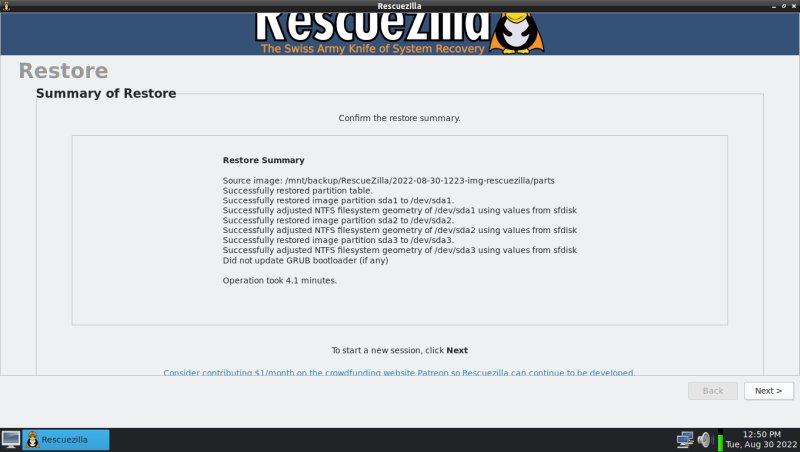
I did a restore with the full disk first, and it was done in 4 minutes, twice the speed of the image process. The second restore (with no partition table overwrite) was instantaneous, as the partitions were tiny.

Boot and test
I "ejected" the RescueZilla and booted Windows 10. Everything was peachy. I then inspected the images saved in the RescueZilla folder on the second disk. An entire (stock) Windows 10 installation was neatly packed into a ~4GB image (with compression level set to 7). Pretty neat I must say. Jolly good.
Conclusion
RescueZilla is a wonderful tool, and it definitely makes using CloneZilla easier and more accessible. The only downside the program has is the somewhat clunky GUI - the desktop, the application itself. The information should be more presentable, but other than that, I really had no worries or complaints. The most important thing is, the software is solid, robust and fast.
Hopefully, this tutorial gives you what you need to make your first steps with RescueZilla. I strongly endorse this program, it's another step on my journey away from Windows. Plus, recently I discovered that Acronis True Image (ATI) no longer offers perpetual-license keys for their software, it's all subscription now, nope, and so the still truly offline editions that I currently own (2019 and 2020) will be the last ever for this product. In this regard, RescueZilla comes as a beautiful falcon of poetic justice. Anyway, this is a fantastic system toolbox, and you should have it, and use it, and enjoy it. Dedoimedo out.
Cheers.