Updated: July 15, 2011
Zen, spelled with Z, is the quintessential feeling at the crown of your head while peeing in snow after holding for eight hours. Xen, spelled with X, is an open-source virtualization technology that you may consider for your setup, whether at home or business, although, like KVM, it is more oriented at the corporate market.
We've had several tutorials on KVM, covering the introduction article, how to setup and configure your storage and network, including bridged networking, and how to resolve conflicts with VirtualBox. Now, it's time to learn a little more about Xen. Similarly, I'm going to show you the first steps needed to get your virtual machines installed and running, the subtle terminology, the use of GUI and command-line management tools, virtualization modes, various appliances, and more.

Xen - Introduction
Here's a short introduction into Xen internals. It's different from most technologies in that it requires a special kernel to boot. In other words, your Linux system requires a separate entry in the GRUB menu. When booted from the context of this kernel, Xen can run.
Moreover, Xen works in layers - called domains. The most privileged domain, called Domain0 (dom0) is the hypervisor itself. Guest operating systems built on top of this domain run in DomainU (domU).
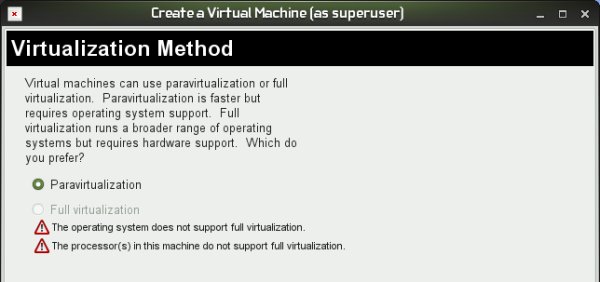
To make things a little more complicated, Xen also has two modes. Paravirtualization allows guests to run without special calls to the processor. Full virtualization, also known as Hardware Assisted Virtualization (HVM), which depends on processor virtualization technology (Intel-VT or AMD-V) offers even better performance and extended features.
For more details, please consult:
Xen tutorials on howtoforge.com
Pros and cons
There are several reasons why you may want Xen. One, it's free. Two, it's robust and mature and has a powerful, command-line syntax that can be easily scripted, making administration work a breeze. Most importantly, if you do not have virtualization technology enabled in your processor, you will still enjoy reasonable performance, unlike KVM, which simply grinds to a crawl in such circumstances. However, you will lose some functionality when running paravirtualized. We will see relevant examples later on.
On the other hand, Xen is more cumbersome than VirtualBox or VMware Server, for instance. While the same graphical management can be used for both KVM and Xen, creating and installing new virtual machines is a little more difficult with Xen. SUSE integration makes this processor both easier and more difficult at the same time. Again, we will see examples later on.
Xen has a fairly steep learning curve and can intimidate less knowledgeable users. The combination of a complex architecture, the layered management and the not-so-simple language could deter potential customers, who might prefer the linear simplicity of other solutions, which offer the entire framework in a single package.
The biggest downside is that it requires is own kernel to boot. Unlike KVM, which simply inserts a module into the kernel, Xen must have its own GRUB menu entry. When booted into the Xen kernel, you will notice a different kernel version when running the uname command.
Test platform
Xen comes pre-installed in SUSE flavors, including openSUSE and SLES, since version 10.3. This means the use and setup on this distro should be fairly simple. That does not mean you can't use Xen on other systems, but you may encounter problems. For example, Xen tools in Ubuntu repositories are broken and must be compiled from source. RedHat-based distros don't have such issues, but their preferred virtualization technology is KVM.
In other words, if you're using Xen, you might want to start with SUSE and possibly RedHat. Ubuntu might be friendly to work with, but the setup could be a pain, although it's not inconceivable.
In this article, I'm going to show you setups on SUSE 10.3 and 11.2. In future articles, we will also use RedHat-based distros like CentOS and Scientific Linux as testbeds. The testing shows Xen 3.X. We'll also have Xen 4.0 reviewed soon, which is included with openSUSE 11.4. So there's more goodness coming to the table.
Xen installation
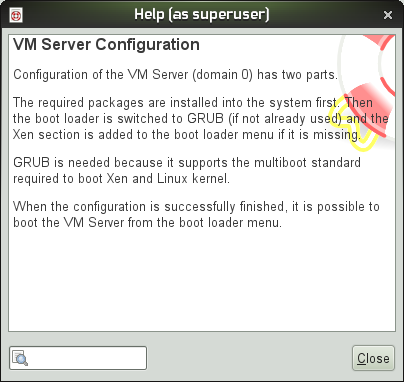
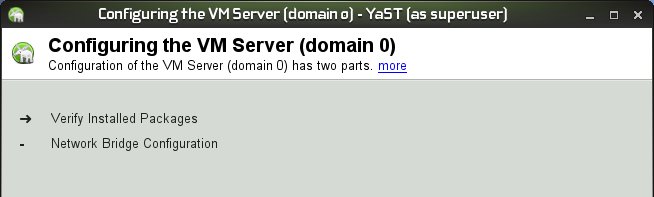
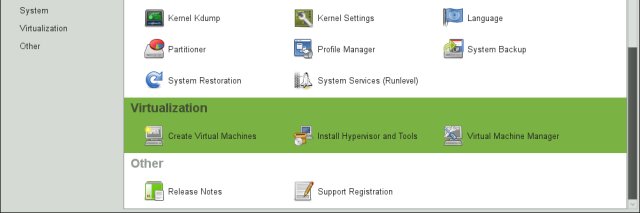
Configuring Xen on SUSE is very easy. Open Yast > Virtualization > Install Hypervisor and Tools. The setup has two stages - the installation of necessary packages and the change of the boot menu and the subsequent boot into the Xen kernel.


Xen will also automatically configure bridged networking, which is very neat, as you don't get this in the default KVM installation. Let it finish and reboot.
Basically, that's it. We're ready to use Xen.
Xen booted from GRUB2
Please note that if you're chainloading SUSE with GRUB2, then you will need to create a special entry for the Xen kernel, which might not be automatically added by the OS probe script. The entry looks different from standard boot stanzas.
Without going into the specifics of how GRUB2 works, as you can read the entire tutorial explaining this, here's the section that you need to pay attention to. Rather than using the standard linux, initrd entries, you need:
multiboot /boot/xen.gz
module /boot/vmlinuz-xen <options>
module /boot/initrd-xen
Of course, adjust the exact paths to match your installations, devices, etc. Here's a screenshot of what it looks like on my test machine:

Using Xen
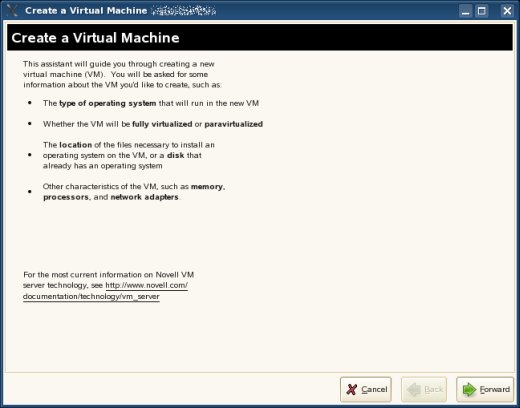
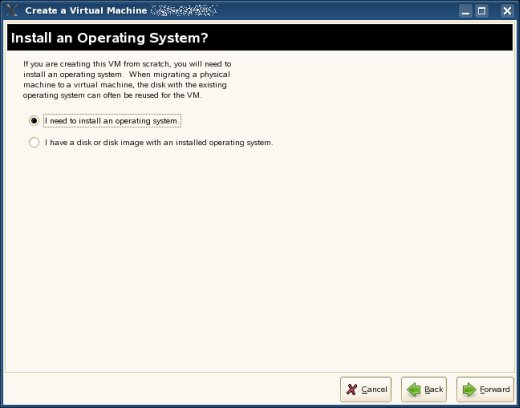
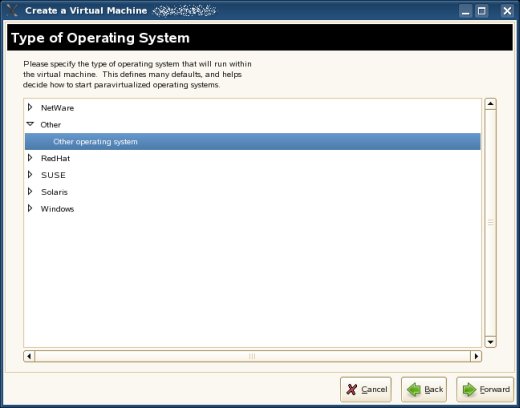
Now, we will start Virtual Machine Manager (VMM), which we are familiar with from our KVM tutorials, and we will create our own first virtual machine. As warmup, we will use GUI tools and later on learn how to achieve the same using the Xen command line.
I will show you two setups - one on a machine with SUSE 10, running KDE and using full virtualization, the other on a machine with SUSE 11, running Gnome and using paravirtualization. So expect a mix of GUI images.
VMM running
Very similar to what we already know:

Create virtual machine
You can create virtual machines using GUI by either launching the utility from YaST or running vm-create from the command line. Please note that this is somewhat different than VMM + KVM on Ubuntu, which we saw not so long ago, where we had the ability to create virtual machines from within the management itself.

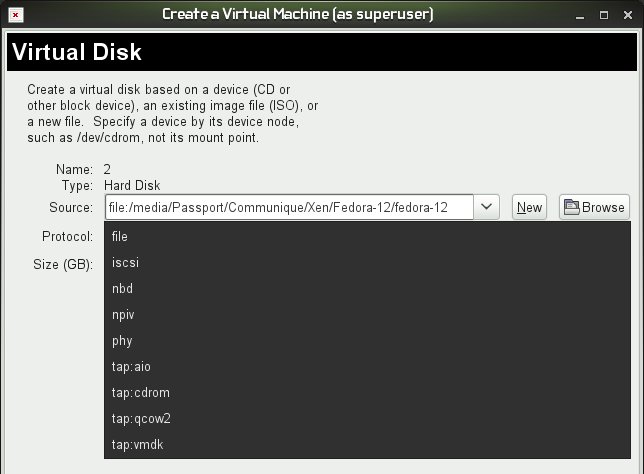
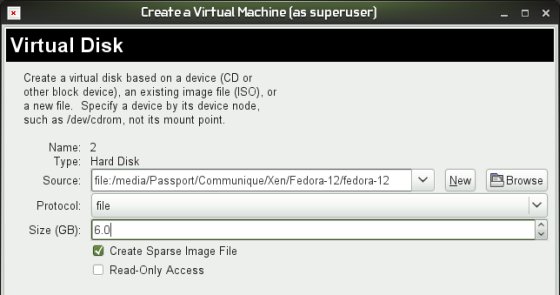
Customization
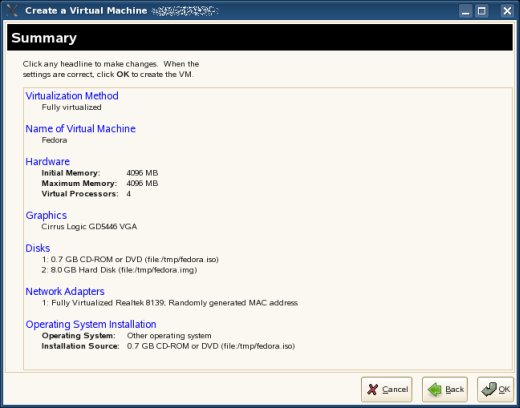
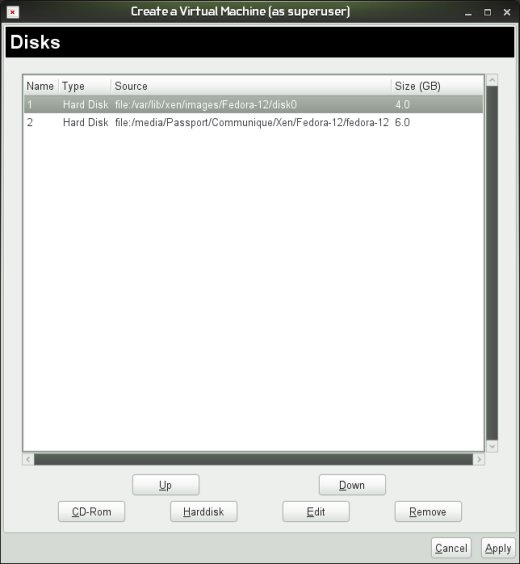
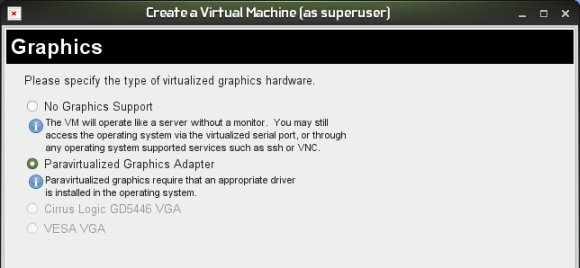
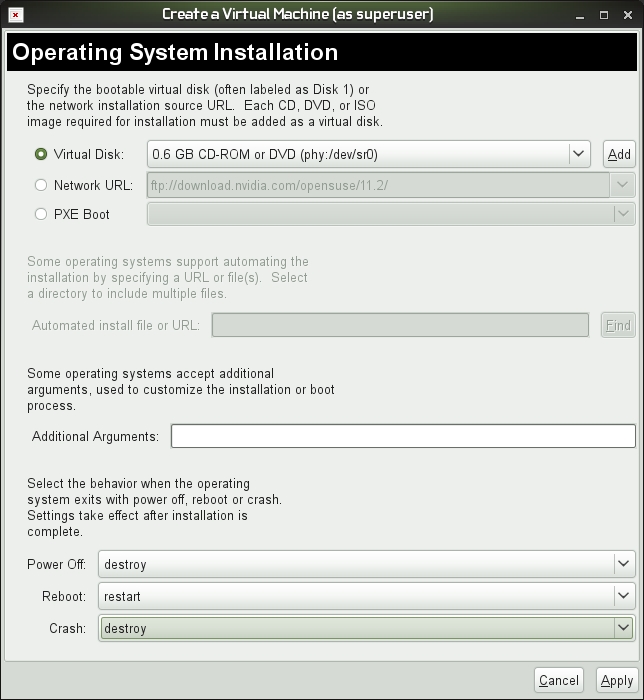
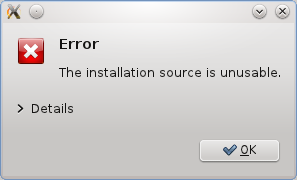
Once you reach the summary section, you can customize whatever you need. Just click on any blue title and make changes. For instance, Disks section will normally point to a virtual machine image under /var. Instead, you can create your own with dd and place them anywhere you want, as well as use CD-ROM or ISO images, which you need for the first installation. Here's a handful of screenshots showing the various options:
We are ready to run.
Running virtual machine
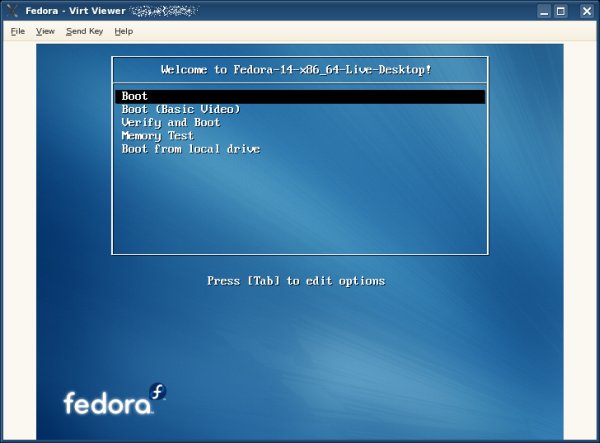
Depending on how you configured the virtual machine, Virt Viewer (virt-viewer) should start and display the virtual machine progress. In our case, we are booting into Fedora 14 live session.
Here's the status in VMM:
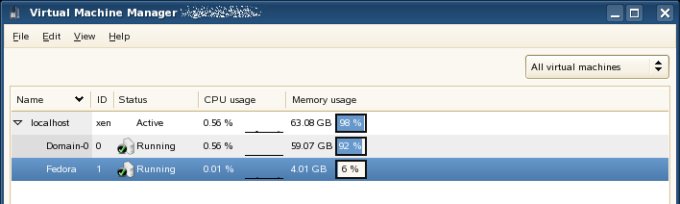
Not bad for starters, eh? Now, you also have the virtual machine configuration created on the disk and can use it both for understanding Xen syntax and and using it as a template for other machines.
Command line
Now, let's examine Xen once again, this time as proper CLI users. There's nothing special to it, and if you've used KVM, you'll find the syntax fairly easy to follow. The man pages are also fairly detailed and include a handful of good examples.
In fact, you can find virtual machine templates under /etc/xen/examples. Virtual machine files go under /etc/xen/vm. Just copy them over and create your machines using xm create.
Here's our Fedora 14 configuration:
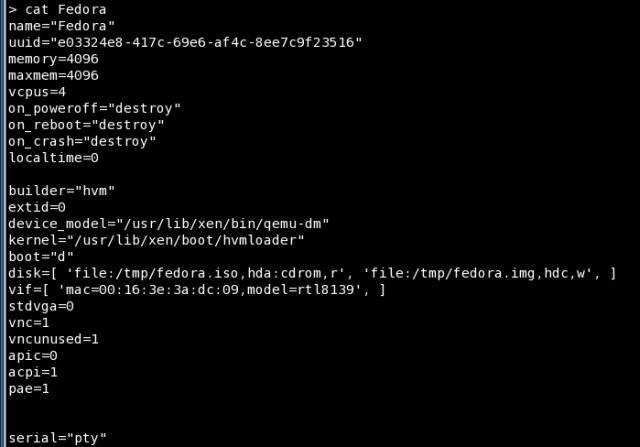
The important directives to pay attention to:
builder="hvm" - If your processor does not support virtualization, you won't be able to use this feature, you will have to set this directive to linux. But then, you will lose some of the functionality.
boot="d" - Very counter-intuitively, d is CD-ROM first, c is disk, go figure.
disk= - Specifies any kind of storage. The order of devices will determine how they are seen and used by the virtual machine. Letters r and w denote read-only and read/write modes.
For more information, please read the xm man page. Then, if you are ready to use your configuration, then simply execute:
xm create <vm name>
And this will be registered as a new domain in your VMM. If you don't wish to use configuration files, say during testing, then you can create virtual machines on the fly. For example:
xm create /dev/null \
name=Debian \
kernel=/boot/vmlinuz-2.6-xen \
disk=file:/tmp/debian.img,sda1,w \
root=/dev/sda1 memory=256 vcpus=1
We create a new configuration that is not going to be written anywhere, hence /dev/null. We will use a privileged Xen kernel under /boot/, which has all the drivers for hardware and whatnot. Alternatively, if you have a smaller, xenU kernel around, you can use it, especially if you're using paravirtualization. Next, we allocate memory, the number of virtual CPUs and the storage. Lastly, we set the root device for our virtual machine.
You can also install and use virt-install to create virtual machines. virt-install can run in the interactive mode, asking questions, which can be quite convenient for you. Furthermore, if you're using KVM, you're familiar with the syntax.
Other things
A few more details worth mentioning ...
Paravirtualization
This one works, but not without some big issues, I must say. If your processor does not support virtualization, you may find Xen to be uncooperative with some of its functions and options. For instance, I was not able to boot from CD in paravirtualized mode most of the time. Or rather, I was able to do so, after lots of tweaking and fiddling and changes, losing some of the functionality in the process and whatnot.
This is a huge minus. The Web is reverberating with questions and answers regarding this, including crazy hacks like building your own HTTP server, mounting ISO images via loopback device, praying to Mayan gods, and more, few of these methods being successful or even easy to implement. We will discuss this more separately. I will show you how you can get going with paravirtualization, despite the odds, and the explain why you don't want to do that anyway.
More reading
If you're brave and want to run Xen on your Ubuntu, try the Community Documentation.
You may also like this very detailed Xen wiki at virtuatopia.com.
Xen management tools - We will discuss many of these in separate articles.openSUSE Xen page and how to install Xen VM Server.
Finally, a worthy blog on Virtualization: blog.bodhizazen.net, not just Xen.
Conclusion
As you can see, Xen is not a monster, although it can be daunting for new users. The somewhat complicated infrastructure can be a deterrent against using Xen. But if you focus, you'll realize it's not that dramatic. Get the extra kernels, add them to your bootloader, boot into Xen, use graphical and command line tools to manage your virtual machines. On SUSE, Xen is included with the operating system, making things easier.
Compared to KVM, Xen is a little more complicated to use, but you get bridged networking from the start, and there's no conflict with other technologies. The paravirtualization mode, parts of it that work, that is, offer better performance compared to emulation mode with KVM. In the full virtualization mode, both solutions are quite handy and useful. Most importantly, I hope this tutorial has cleared some of the fog.
In sequel articles, we will learn about additional management tools for Xen, take a look at the standalone Xen Cloud Platform and even introduce the live edition. Yes, Xen can run from live CD, w00t. I hope you enjoyed this. See you around.
Cheers.