Updated: January 16, 2010
After I published my Linux ISO burning tutorial, I've received several emails from readers asking about the same thing in Windows. Apparently, this is not such a trivial task, it seems. Good point, which is why I decided to write this tutorial.
Today, I'm going to show you how you can burn ISO image files to CD/DVD in a variety of popular Windows CD/DVD burning programs. All of these applications are freeware, with one notable exception, this is in order to show you that there is essentially no difference between free and payware software. Let us begin.
Download the desired files
This is the first step; download the ISO image. For example, if you've followed my recent Ubuntu installation guide, some of the steps to getting Ubuntu installed on your machine include downloading and burning the Ubuntu ISO image to CD. Now, various programs ... How do you burn ISO images? Let's see a few examples:
InfraRecorder
InfraRecorder is a simple, elegant burning software for Windows, with all the tools and options you need, without being big or bloated. It works quite well and burns discs with high quality.

Choosing the right option is quite simple really. We need Write Image. Choose the image that you want to burn. InfraRecorder supports ISO, as well as CUE and IMG files. Later, we will talk about this a little more.

Once you have selected the image you want, review the burning options. My recommendation is not to use the highest burning speed, either that supported by your device or the burning media. Mid-range speeds ensure better quality and fewer errors.

Ashampoo Burning Studio 6
Ashampoo Burning Studio 6 is a freeware by Ashampoo, released to let you familiarize with their software, get you to appreciate the power and ease of use and then convince you to buy newer and even more powerful versions. Whether you're going to cough up a few drachmas or not, Ashampoo Studio is a very good choice for burning ISO images in Windows. The software is very simple to use, friendly, accurate, and quite error free.
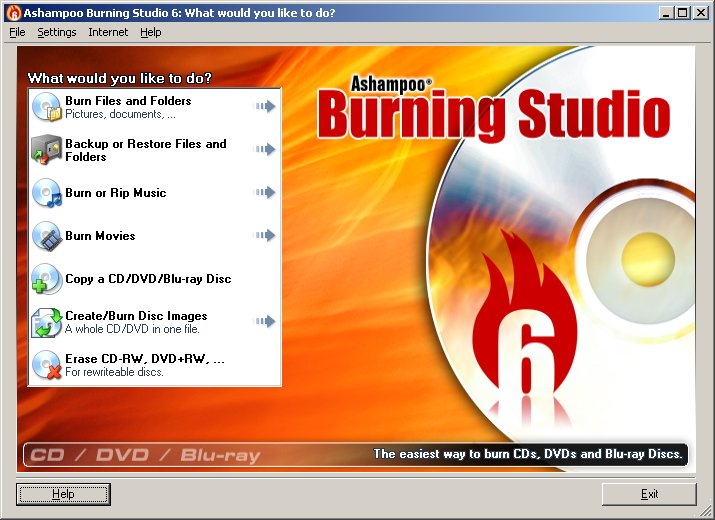
Click on Create/Burn Disc Images and choose the desired task. What you want is the first options - burn a CD/DVD disc from a disc image.

Choose the image, insert the disc into the tray and let it burn!

Payware: Roxio Easy CD and DVD Creator
Even if you're using a payware solution, the things are just a simple as with any other burning software, including the several choices reviewed here. The principle remains the same.

Choose the image and then review the settings:


Other programs
Regardless of your choice, the task is the same. Choose the relevant image, set its options and let the software burn. ImgBurn, CDBurnerXP, Nero, and others, if you've used one, you can use them all.
For more details about useful and popular Windows software, including CD/DVD burning applications, you may be interested in my Windows must-have programs mega compilation. Some of the programs showcased here are included in the article.
Image formats
My titles explicitly states ISO, which is the most common image format. But there are others, like CUE, BIN and IMG. One of the images you may stumble across is NRG, which is a Nero proprietary format. Not all burners supports these. So if you come across one, you may want to convert it to ISO first. Or use a program that can burn NRG files.
Luckily, the freeware ImgBurn is what we need. ImgBurn supports a staggering array of image formats, including NRG. Like InfraRecorder and Ashampoo Burning Studio, this is a recommended program that should be included in your software arsenal.


There are other utilities available. Please check Wikipedia article for more details.
Conclusion
There you go. Now you know how to burn ISO (and other) image files in Windows, using no less than four different utilities. What more, as you can see, the principle is the same, with minor differences in the user interface. I hope you liked it. Many thanks to Tony, Sasha and Ardan for suggesting this tutorial.
Cheers.