Completing installation
The installation will take only about 10-15 minutes.
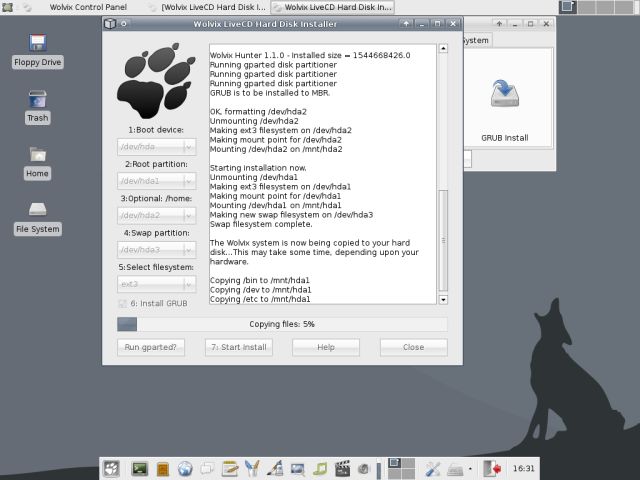
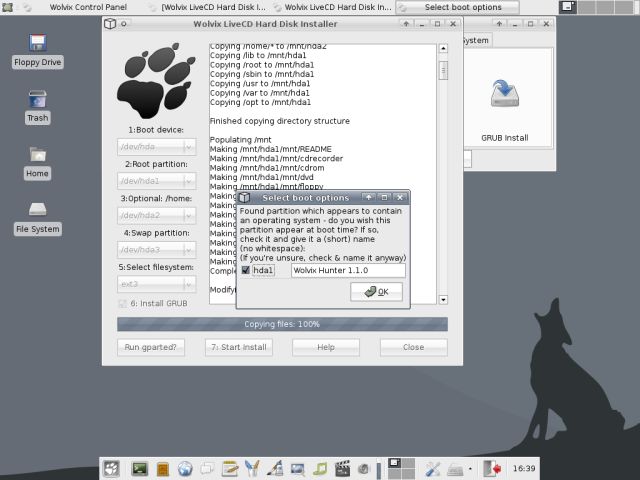
Once all the files are copied to the hard disk, you will be asked a number of questions.
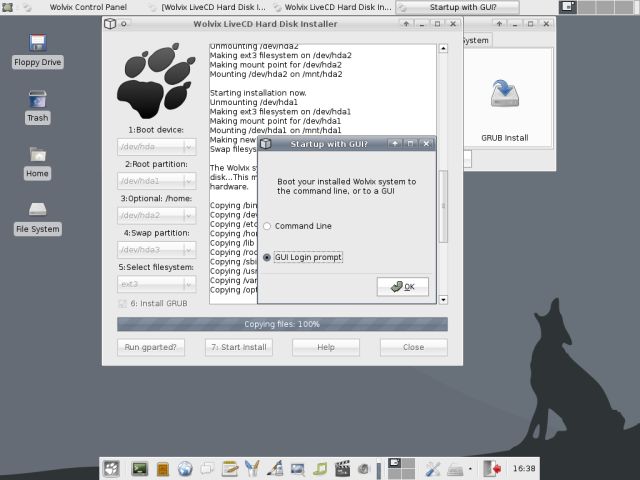
Command line or GUI session
You can choose between starting your machine in the command line mode or the graphical interface. Most people will probably prefer the later. If you recall, in the Slackware tutorial, the default installation mode was the command line. We had to configure the GUI (runlevel 5) by ourselves. Not any more.
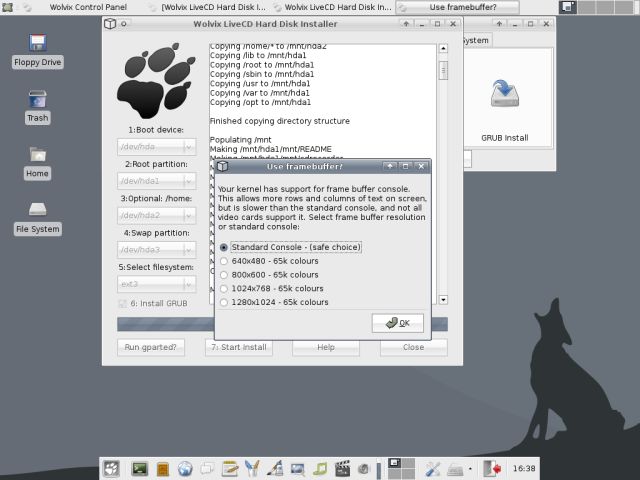
Framebuffer
Don't let this word frighten you. Modern computers with reasonable graphical cards - any one really - can present all sorts of fancy graphics to the users in the boot splash screen. If your computer is very old, you might want to use the old, 16-color console with minimal decorations.
GRUB name
Finally, instead of a generic name in the GRUB menu, you can use a reasonable alias that will identify Wolvix. This has a meaning if you have several operating systems installed, in which case generic kernel names and versions would confuse you. Either way, you can safely choose the offered name.
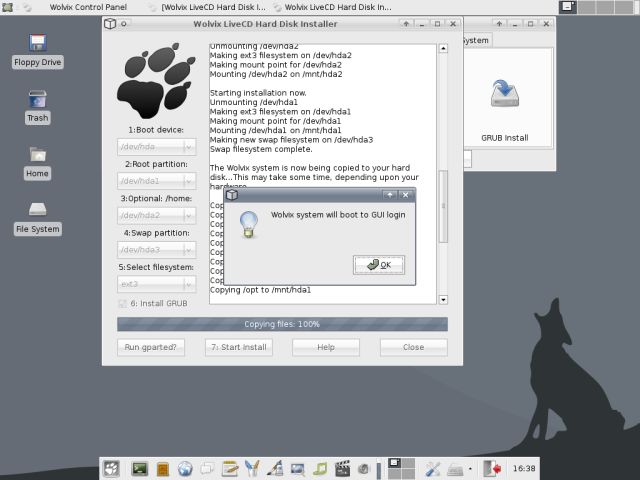
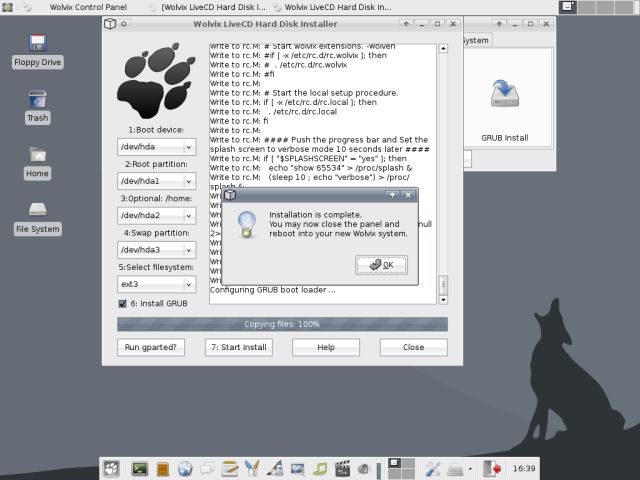
Installation complete
That's it. Remove the CD and reboot.
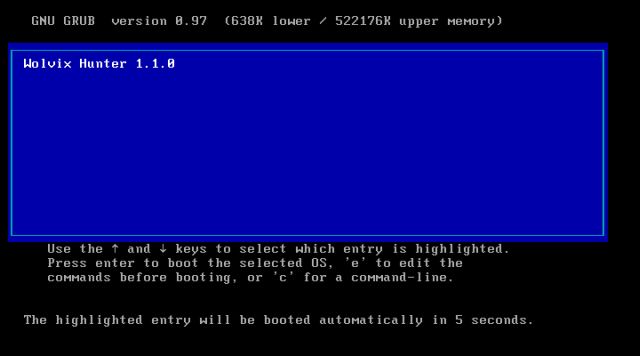
Booting into installed system
Once you reboot, you'll reach the GRUB menu. In my case, it's the spartan, standard, 16-color console typical of 15-year old machines.
The installed desktop is not that much different from the live CD. The system is very quick and responsive, a testimony to carefully knitted kernel and a smart choice of programs.

One thing you may notice is that our user is still root, with its default, weak password. This is not a good practice in Linux. Therefore, we will add a new, standard user, our good ole Roger Bodger. Again, we will use the uber-friendly Wolvix Control Panel. We need the User Admin tab.
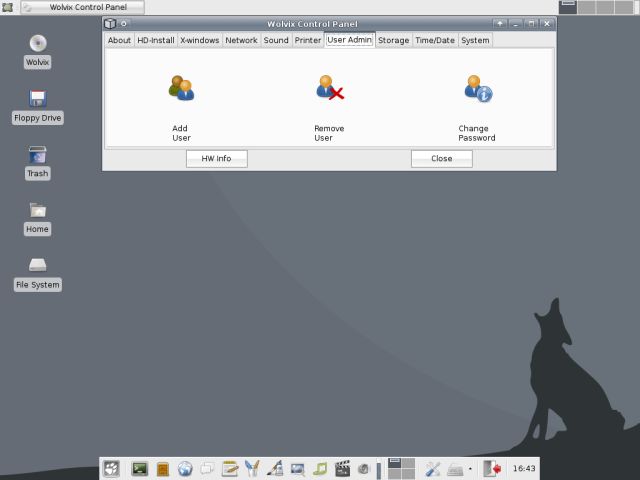
First, we will change the root password to something secure. Then, we will create a new user. When you click on Change Password, you'll be asked for the user name that you wish to change. This is equal to typing on the command line: passwd user_name.
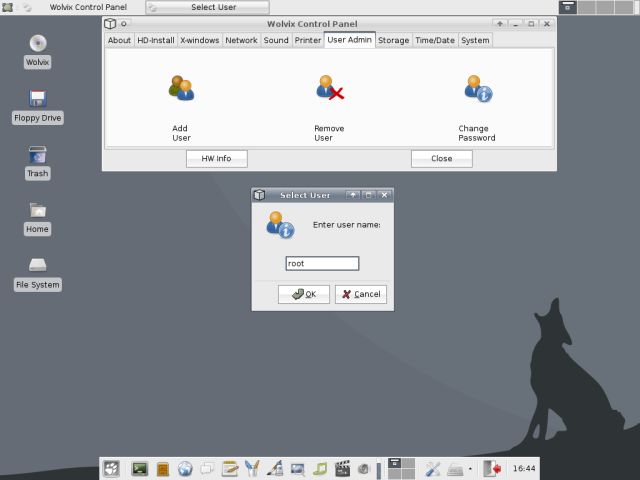
And now, for the first time, you'll use the command line - simply to write down and verify the password.

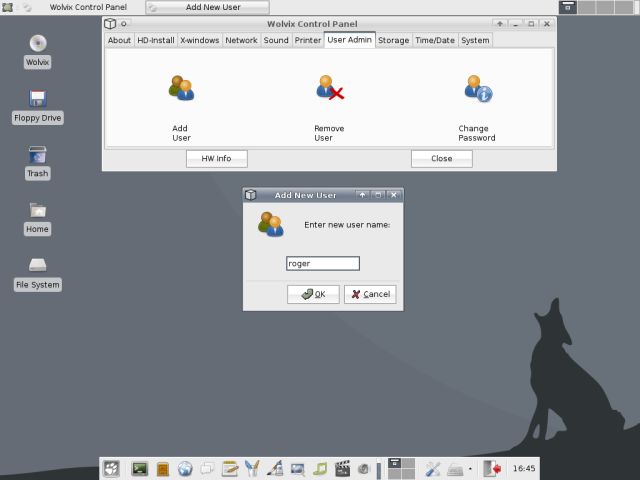
Now, we'll create Roger (by clicking on Add User):
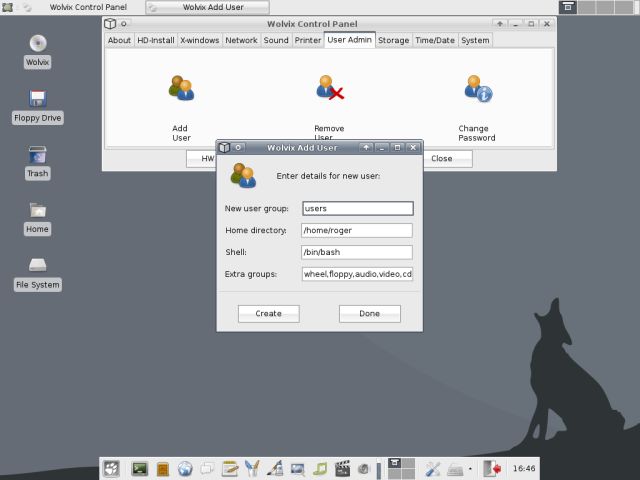
The extra details are an important part of defining the user. Here, you can specify the home directory and the shell for the new user. But most importantly, you can define the extra groups. These will allow the user to listen to audio, watch video and enjoy other 'extra' content that will not normally be accessible to him/her. In some cases, this is exactly what you want to achieve.
Now, log off the root user and login as roger.