Updated: September 10, 2011
This is not a new topic. We talked about it at least two or three times before, in my original openSUSE 11 review and tutorial, then again in the openSUSE 11.X articles. Still, it was more sort of a reference rather than a proper step-by-step guide. Indeed, the graphics driver installation, even though it's fairly simple, is not trivial. To remove all and any doubt, I decided to write this tutorial.
We will dabble in Yast, learn how to handle repositories, add the Nvidia source, install the correct driver and test the installation. We'll also recall how the installation used to be done in the past and what some other distributions offer. Follow me.
How it used to be done in the past
Some distros still take this path - grab the build tools, download the driver from the official site, compile on the spot while the graphics environment is dormant, restart the graphic environment. It works well even in the latest versions of openSUSE, but it is unnecessary. Moreover, the manual method has one big disadvantage - kernel updates will necessite you repeat the process all over again. Likewise, if you want to install newer versions of the driver, the same thing.
Other distributions
Some distributions, mainly Ubuntu-based, offer so-called Additional (Restricted) drivers using a special utility that pops up and offers these drivers for download and activation. This is a very neat method and makes the administration a painless process. openSUSE requires a bit more effort.
How to install the driver in openSUSE 11.4
Now, let's see how it's done in the modern editions of the openSUSE distribution. The entire process is managed through YaST software management. There's no need to manually compile anything. And you get updates for the driver alongside other software, which is a big bonus toward a seamless and uninterrupted desktop experience.
What you need to do is enable the Nvidia software repository, the one less trivial detail in the configuration. So let us begin. Open Yast > Software.

Click on Software Repositories. This will display your current repositories, including their priority, status, name, URL, and more. What we want now is to add a new source. Therefore, click on Add in the left bottom corner.

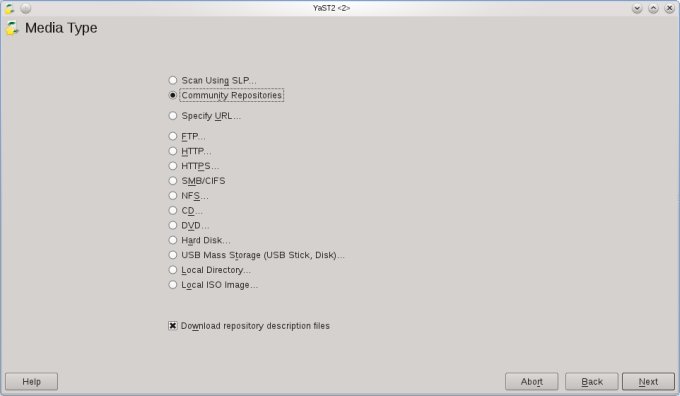
This will display a long list of available repository types. Choose Community Repositories.
In the list, select Nvidia repository and click OK.

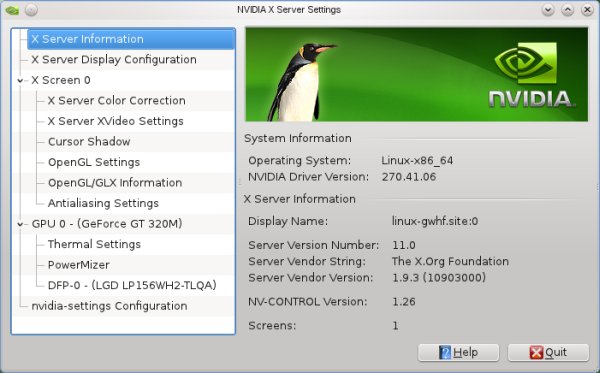
The list of repositories will be now refreshed to include the new source. Now, go back to Yast > Software > Software Management. In the search window, type Nvidia. You will get a handful of entries, including the latest drivers, the legacy drivers, support utilities, and more. In my case, I chose the Nvidia 270.41 driver, which was the latest version available at that time. Install, restart the X environment, or reboot if you will.


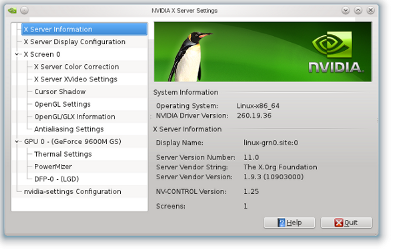
Basically, we're done. Fire up the Nvidia control panel to make sure it all works.
Conclusion
There you go. Simple, isn't it? The only two things you really need to pay attention to is the addition of the Nvidia community repository and the installation of the correct driver version. Once the driver is properly installed, you will receive future updates, so you only need to do this process once.
Well, I hope you liked it. Have fun!
Cheers.