Updated: September 6, 2024
Normally, I am rather disdainful of many things AI. Not because there's anything inherently wrong with the idea of Artificial Intelligence per se. No. What I dislike is the buzz and hype around technologies and products purporting to be AI, when they are, at best, glorified statistics, lathered with a thick layer of marketing nonsense. Now... Say you have lots of old, low-res, blurry images. Can you make them better? With AI?
If you've watched TV crime shows from the early 2000s, you just "enhance" stuff. Only, every time you upscale an image, James Maxwell and Ludwig Boltzmann spin in their graves, because you're violating the laws of thermodynamics. Entropy and that. Creating data out of nothing. Magic. But that's actually what AI-powered programs promise. The question is, can you do AI without surrendering your soul to the cloud overloads? Ah, seems like you can, after all! One such tool is Upscayl. Open-source, cross-platform, AI image enhancer. Sounds fantastic. Now, let's see if it actually works as advertised.
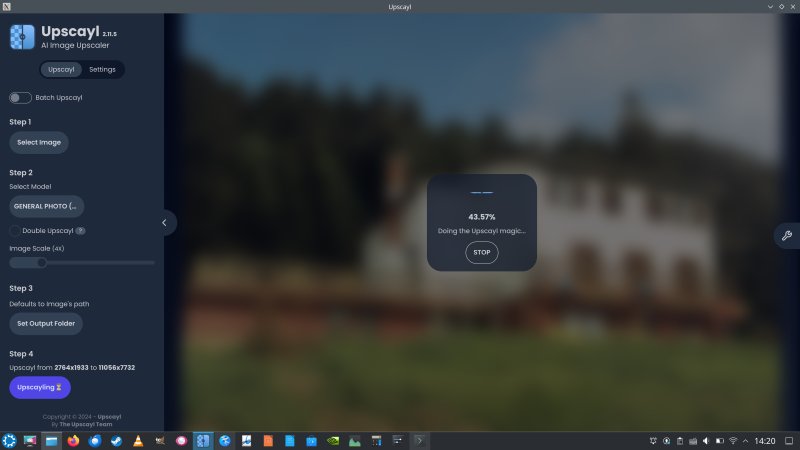
Easy setup, truly offline
My requirements for any sort of AI stuff is the ability to create a local setup. And without too many steps. Upscayl checks both these boxes. I downloaded the snap version of the tool from the Snap Store, and installed the program in Kubuntu 24.04 (Linux). No issues whatsoever, a simple and quick deployment.
Next, I also disabled the program's network connection. Snaps are sandboxed Linux applications, and you have the ability to selectively enable or disable their access to declared resources. In this particular case, Upscayl needs access to your home (for files), OpenGL and such (for actual rendering and processing), and several other resources. The network plug is also listed, and enabled by default. This is true for most snaps, and it's not a problem per se.
But to see whether Upscayl can really do 100% local magic, I manually disconnected the network plug. For all practical purposes, as far as the program is concerned, my machine has no network whatsoever. Next, I launched Upscayl and used it to "fix" several images. No problems, no complaints. Excellent.
Discrete graphics card requirements (Vulkan-compatible)
If you want to use Upscayl, you will need a machine that has a relatively modern and capable discrete graphics card. Most integrated GPUs will not work. The question is, what does modern and capable actually mean? Well, my test box is a 2014 IdeaPad laptop, on which I recently installed Kubuntu 24.04, following an SSD upgrade. The system has an old Nvidia card. And it worked just fine. Maybe not as fast as the latest generation of devices, but Upscayl handled the tasks without any problems or issues. There, it would seem a 10-year-old laptop is good enough.
Actual work, any good?
Now, the crucial part. Can Upscayl actually deliver good results? To test that, I went combing through my arsenal of old photos, looking for some choice candidates. I found three photos that I thought would be good options for the experiment.
- A 1983 photo of a ski chalet (taken with a nice 35mm analog film camera) and later digitized by scanning the printed photo using a cheapish home-use scanner (at 300 DPI).
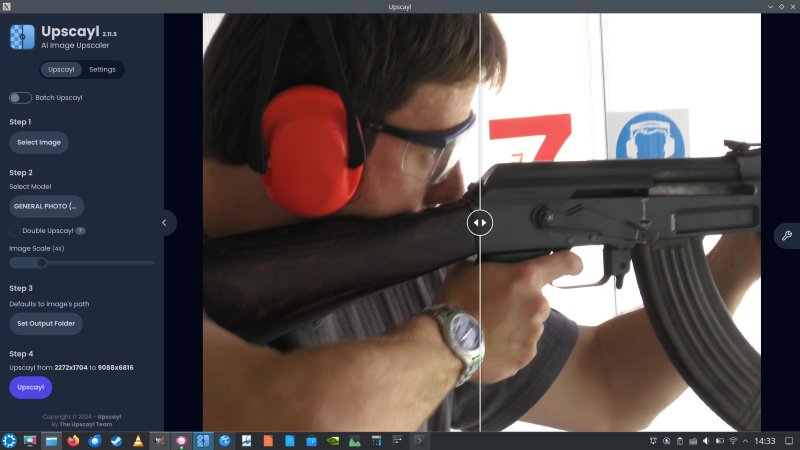
- A 2004 photo of a human, in mixed-light conditions, with some extra blur.
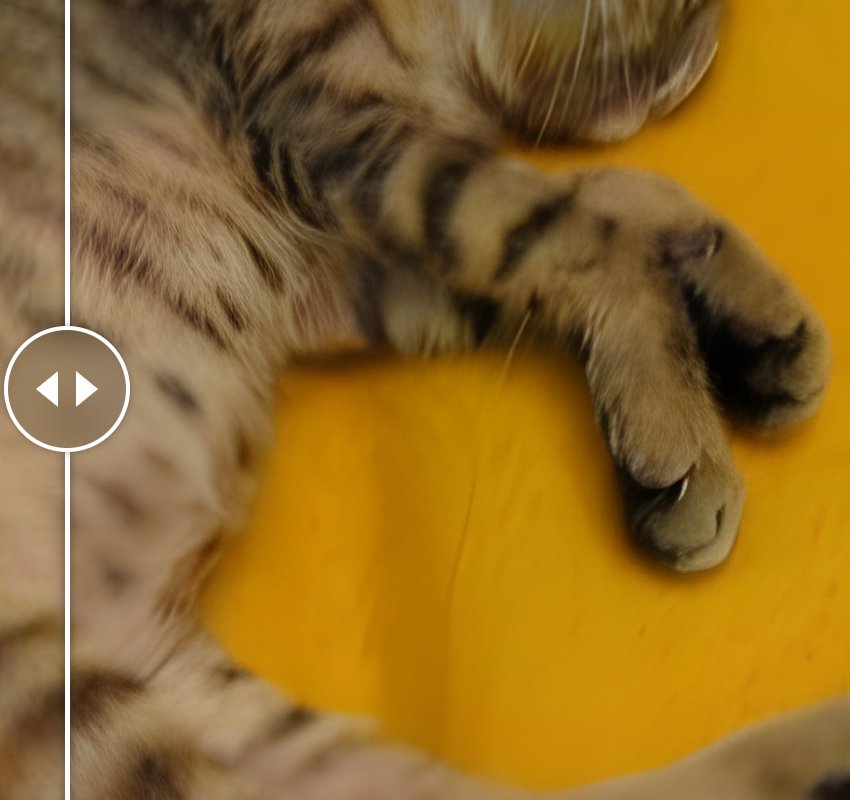
- A 2005 photo of a sleeping cat, at a humble 720x540px resolution, sent over phone chat and mail and whatnot, and probably compressed two or three times along the way by whatever program was used and such.
Upscayl has a pretty nice, friendly UI. Very convenient to use. On the left, you have a sidebar that lets you load your images (including multiple files for batch processing), the selection of the enhancement model, the scale, and the output folder. Very straightforward. On the right side, you will see the original photo, and once the processing is done, there will also be a vertical slider, which lets you check "before" and "after" results.
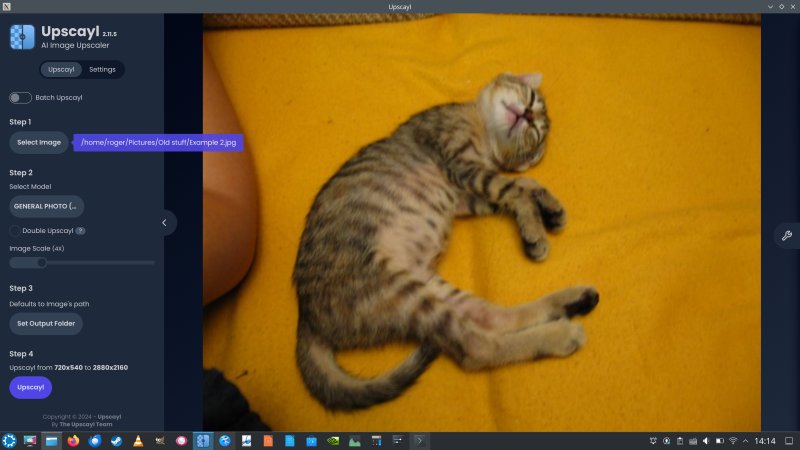
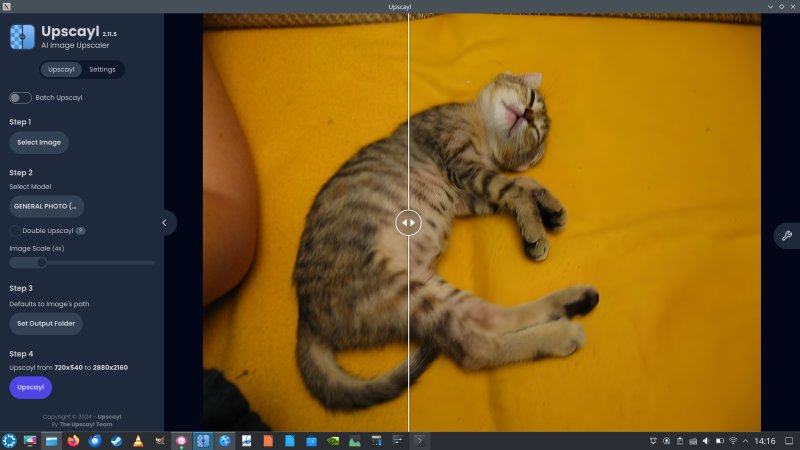
I loaded the photos into Upscayl and let the program run ...
On my aging 2014 machine, it takes roughly 7 minutes to upscale a 2500x2500px photo by a factor of 4. That's quite reasonable. However, the times can vary significantly, depending on the information the model finds in the picture. Graininess and light level also affect the end result. If you use an even higher image scale factor, or use an original image that is already quite big, the times can easily become 20-30 minutes. However, all in all, the performance is quite good.
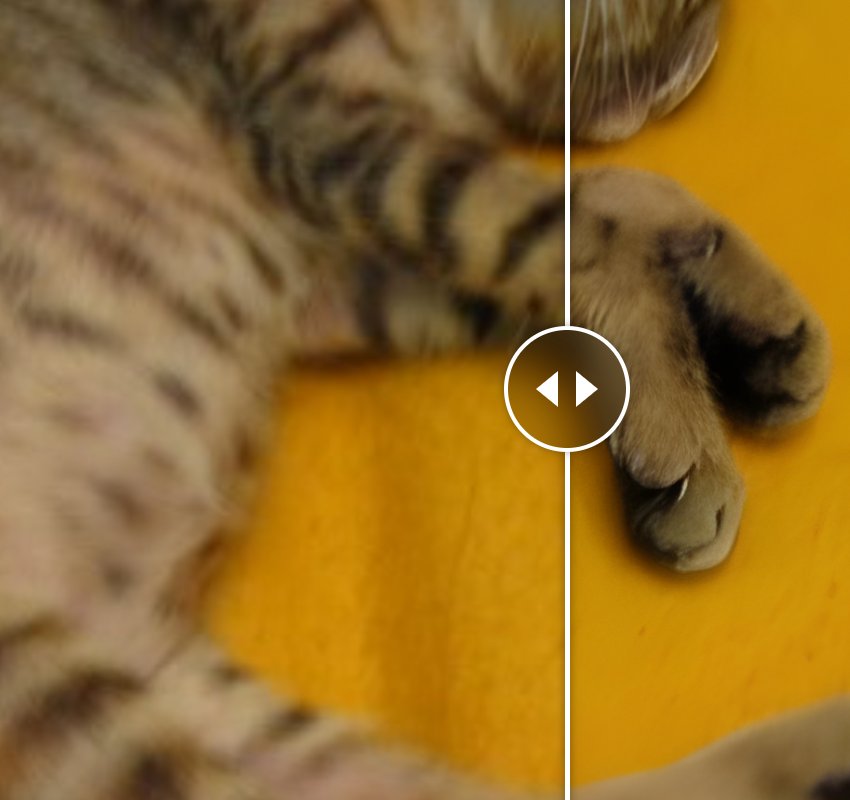
With the sleeping cat image, the results were excellent. Fast render (10 seconds), solid improvements. You can definitely see more detail. So, we have a file that has 16x more pixels, and yet, it's clearer and sharper. Not perfect, but definitely great. Now, this was a low-res image, with good lighting, clarity and contrast.
I tried with the photo of the human next. The results were ... neutral. I couldn't really see any improvement in the quality of the new image. It was bigger, but so were the "errors". Here, we have a biggish photo, two types of lighting, the left half of the (original) photo is blurrier (and darker) compared to the right side, plus a fair amount of graininess. Upscayl wasn't able to do much here.
The results with the ski chalet were actually a reversal of the original. The upscale product was worse than what I'd started with. While there's good lighting in the photo, there's also a lot of graininess and a huge amount of fine detail (trees and grass). My guess is that any sort of extrapolation on an already super-busy part of the image results in simply more noise. I tried multiple models, including the very-best ULTRASHARP, and it still didn't yield any improvements.
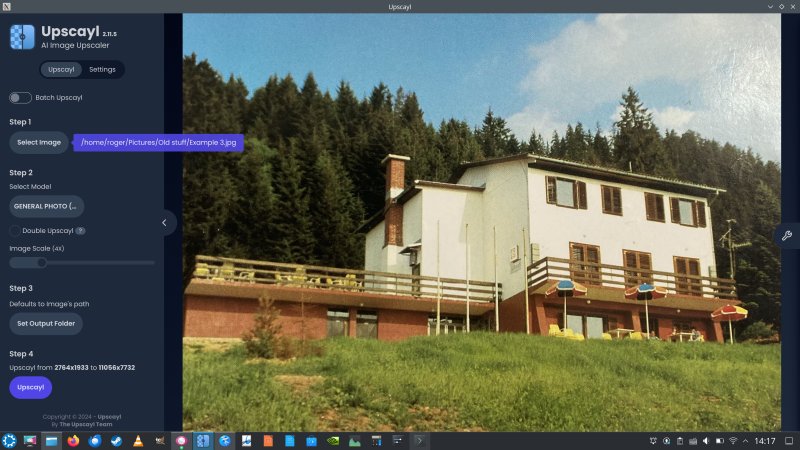
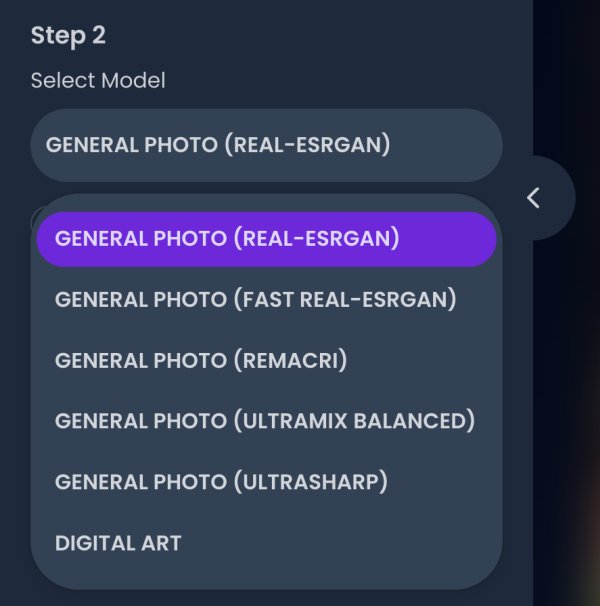
None of these worked with my photo no.3.
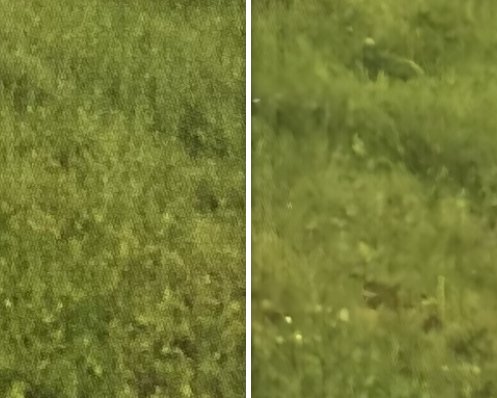
Here's a zoomed in part of a grass section. As you can see in the original (on the left), there is a lot of graininess. This is a combination of old analog film usage, film development, the photo sitting on a shelf for a few decades, subsequent scanning using a cheap, off-the-shelf digital scanner (albeit with 300 DPI) roughly fifteen years back, and now the AI-upscaled results. The "improved" grass is blurrier. The same goes for the sky and the tress. In this case, the image is probably as sharp as it can be, unless a new model can be developed and trained on the specific "dot" pattern you see in the original. But this is more noise reduction than anything else, as the image has a decent size (2500x2000px more or less).
Hint: You do not need to enlarge the images
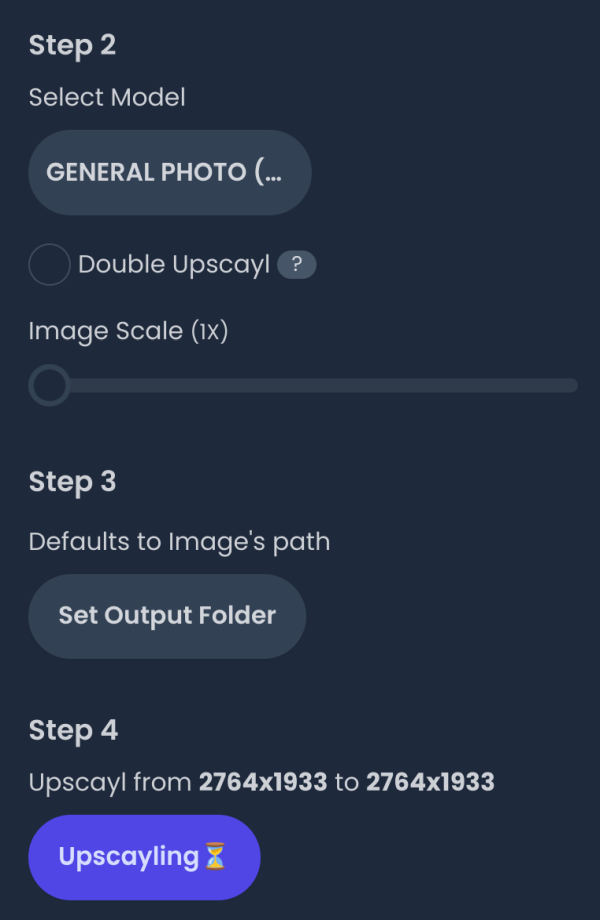
Here's an important observation. You do not need to make the photos bigger. You can retain the original size by using the x1 scaling factor. The algorithms will try to interpolate the missing information, as much as possible. This can be a good, first-pass approach to see whether you get any improvements. Saves times, too.
Overall results, pre-conclusion, an aside on Nvidia PRIME
Having processed roughly 50-odd images with the program, including both people and scenery, I've come to several findings. Some of these come as a surprise, while others are clearly outlined in the program's FAQ.
- Do not expect miracles. You may get some improvements, but this cannot do what your imagination does.
- Upscayl works best on images with low graininess, good lighting, and moderate amount of detail.
- If you already have large, hi-res, hi-DPI photos that are simply BAD, i.e., blurry and noisy, then Upscayl is not the right tool for the job. It can improve things a little, but if the noise factor is "larger" than any model algorithm smoothing and approximation, you won't see any meaningful results.
- REAL-ESRGAN creates smoother images than ULTRASHARP, so it's better suited for grainier or more blurred images, within the limitations outlined above. You will lose some clarity here and there, though. Always a tradeoff.
On top of that, I was quite pleased with the Linux setup:
- Despite early problems with Kubuntu 24.04, it has now settled and works fine.
- The installation was simple (via snap), and the usage straightforward - and truly offline.
- The program has modest requirements - my 10-year-old laptop worked beautifully.
- My hybrid graphics setup was working flawlessly. The Nvidia card is configured for PRIME on-demand, so it utilizes the more powerful card when needed, while the rest of the time, to conserve battery, it uses the integrated card. I checked the behavior while running Upscayl, and indeed, nvidia-smi was showing the program running with the Nvidia GPU. No excessive heating, either.
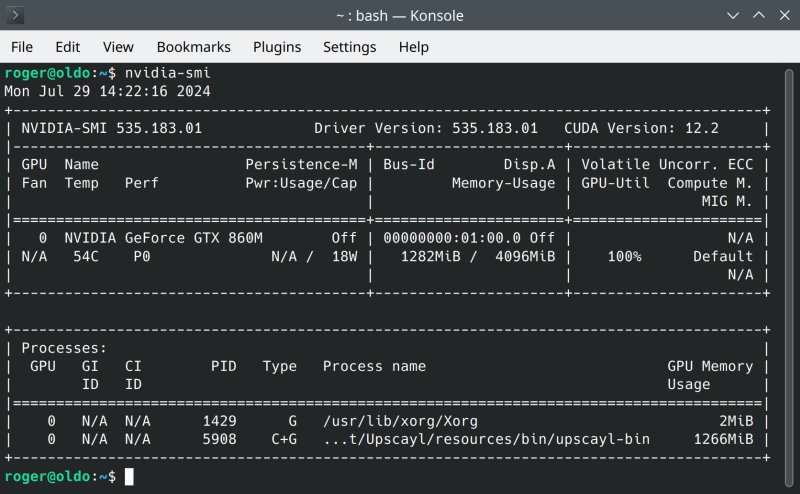
Nvidia 535 drivers, on-demand setup, normal temperatures, really nice.
Conclusion
Most modern programs are meh. Really. Upscayl is an exception to this modern mediocrity. A big exception. This is a beautiful, elegant program. Nice GUI, simple usage, simple and clean installation, truly offline mode of work, multiple models, good performance, modest requirements vis-a-vis GPU, and results that are quite all right if not perfect. In my book, this is a pretty good sum indeed. Way more than I expected.
You will get the best results if you have small, detail-simple photos or images, with even lighting and low amount of blur and noise. If your files satisfy these conditions, you can expect a very pleasing outcome from Upscayl. If not, the results will vary from good to disappointing. Just be aware of that. Now, all that said, this is really a fantastic little tool, and well worth testing. Next, I am going to try to all of the above manually, using ImageMagick and GIMP. I want to see how much photo improvement and upscaling can be done by hand, using command-line tools in Linux. That will be the topic for my next tutorial. Stay tuned.
Cheers.