Updated: January 24, 2025
I consider myself an amateur photographer and video creator. That means, most of the time, I'll get by fine just by using ffmpeg, VLC, GIMP, and KDEnlive for my artistic endeavors. But now and then, I wonder whether I can up my game, and try my luck and skill using a top-notch tool like DaVinci Resolve. This near-3GB program offers a lot of goodies, and it's heavily used in the film industry. Well, perchance.
And so, I tried. I encountered many a snag. To that end, I decided to write this tutorial, which outlines all the little bugs and problems and issues you may encounter trying to configure DaVinci Resolve in Linux. In particular, I tried it in Kubuntu 24.04 (well, Ubuntu 24.04 LTS base), and it wasn't trivial. So, let's proceed then, and handle all manner of wee problems. In the end, you will have the program running, all dandy like.
Download, install
The program requires a registration (to show the download link). DaVinci Resolve (version 19) weighs 2.8 GB, and it's a single .run file. As the very first thing, you may need to make it executable to be able to actually run it. Open a terminal window, and then:
chmod +x DaVinci_Resolve_Studio_19.0_Linux.run
Next, run the program with sudo (since it defaults to /opt), and with the -i flag, so it asks you questions. For example, to invoke the installer in the current working directory:
sudo ./DaVinci_Resolve_Studio_19.0_Linux.run -i
In my case, DaVinci Resolve complained about missing packages:
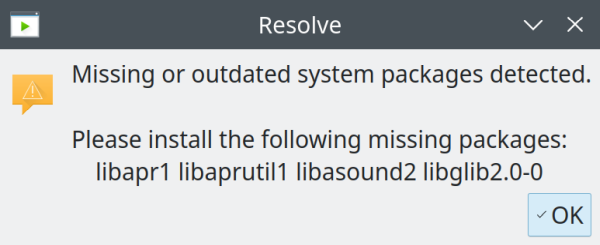
You can list these in a command-line window, and (try to) install them:
sudo apt install libapr1 libaprutil1 libasound2 libglib2.0-0
Ubuntu 24.04 will tell you that there's no libasound2 package available, but it will install the other three. Now, seemingly, you're stuck, but not really. We need to tell the DaVinci Resolve installer to skip library checks, because it will keep prompting, even if you have all of them installed:
sudo SKIP_PACKAGE_CHECK=1 ./DaVinci_Resolve_Studio_19.0_Linux.run -i
Now, the program will ask a few small questions, and install just fine.

Try to run, fail (due to conflicting libraries)
If you attempt to start the program, you won't succeed. You will get a shared library error:
/opt/resolve/bin/resolve
/opt/resolve/bin/resolve: symbol lookup error: /lib/x86_64-linux-gnu/libpango-1.0.so.0: undefined
symbol: g_once_init_leave_pointer
The exact error may be slightly different, but it boils down to the following: DaVinci Resolve uses a lot of libraries from its own path, under /opt/resolve/libs, but not all. And these libraries are not necessarily compatible, version for version, symbol for symbol, with what Ubuntu 24.04 has.
To work around this issue, you will need to move a few libraries so that DaVinci Resolve defaults to the system versions instead of its own set. The simplest thing is to create a folder and move all of the libraries and their symbolic links yonder, e.g.:
sudo mkdir /opt/resolve/libs/unneeded
And then:
sudo mv /opt/resolve/libs/libgio* /opt/resolve/libs/unneeded/
sudo mv /opt/resolve/libs/libglib* /opt/resolve/libs/unneeded/
sudo mv /opt/resolve/libs/libgmodule* /opt/resolve/libs/unneeded/
The final list will be (inside the unneeded folder):
libgio-2.0.so -> libgio-2.0.so.0*
libgio-2.0.so.0 -> libgio-2.0.so.0.6800.4*
libgio-2.0.so.0.6800.4*
libglib-2.0.so -> libglib-2.0.so.0*
libglib-2.0.so.0 -> libglib-2.0.so.0.6800.4*
libglib-2.0.so.0.6800.4*
libgmodule-2.0.so -> libgmodule-2.0.so.0*
libgmodule-2.0.so.0 -> libgmodule-2.0.so.0.6800.4*
libgmodule-2.0.so.0.6800.4*
Indeed, you can check, with LDD, what the resolve binary now uses. Purposefully, just for the libg values:
ldd resolve | grep libg
libgpudetect.so => /opt/resolve/bin/./../libs/libgpudetect.so (0x000072ea50385000)
libglib-2.0.so.0 => /lib/x86_64-linux-gnu/libglib-2.0.so.0 (0x000072ea4ded0000)
libgobject-2.0.so.0 => /opt/resolve/bin/./../libs/libgobject-2.0.so.0 (0x000072ea36e00000)
libgstreamer-1.0.so.0 => /opt/resolve/bin/./../libs/libgstreamer-1.0.so.0 (0x000072ea4dab1000)
libgstsdp-1.0.so.0 => /opt/resolve/bin/./../libs/libgstsdp-1.0.so.0 (0x000072ea4e66d000)
You can see that it wants to link to libraries from its libs sub-folder, except libglib-2.0.so.0, which comes from the system path (as we've just moved the files away). Now, the program will start correctly on your system.
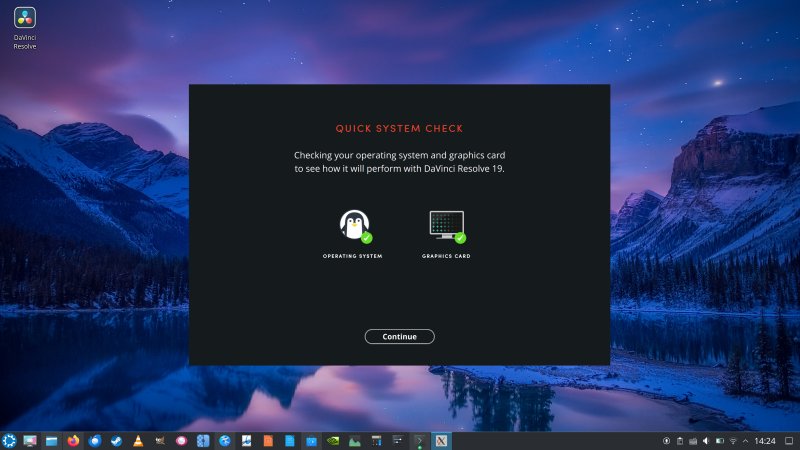
First-time configuration & CUDA
I installed DaVinci Resolve on an old machine. Despite tis age, it comes with a discrete Nvidia card and up-to-date drivers. However, the hardware is too old to use all the latest instructions, and the program will complain about this. You can override the configuration, so it can run.
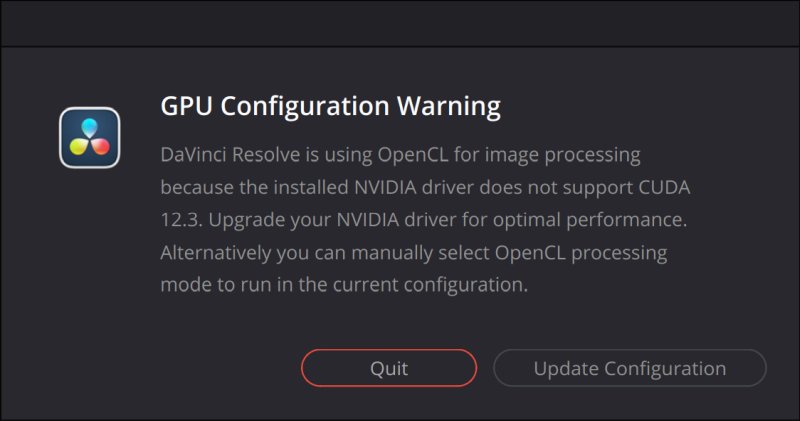
Click Update Configuration, and then, under Memory and GPU, untick the box that reads 'GPU processing mode'. It won't be auto, and you will use OpenCL, and it won't complain anymore, and the program will run fine, although you won't enjoy all the necessary performance benefits. But hey.

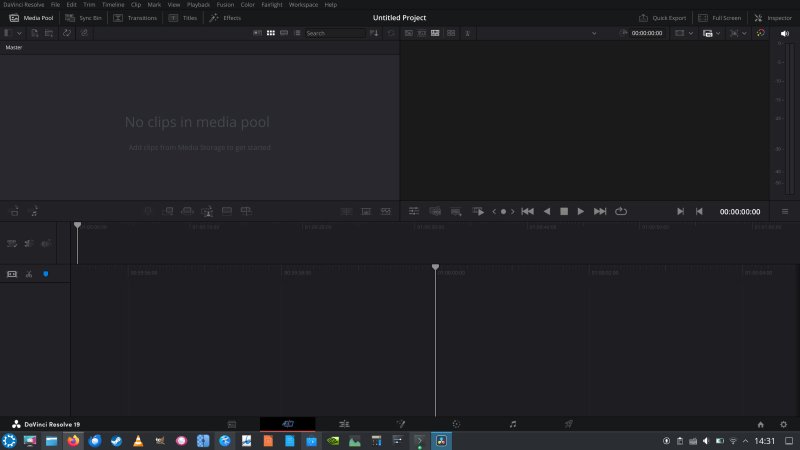
And it works, me hearties:
Other tweaks
I find the super-dark UI odious. Sure, for this kind of software and type of work, one needs premium hardware, monitor, proper color calibration, and all that, but there's no one in this universe who can convince me that gray text on gray background is good for your eyes. Sure, color grading for movies is done in a dark room, and gray is neutral, but still. There's no option to change the UI. The most sensible thing would be a simple toggle, or even a temporary toggle where you make initial work using an eye-friendly light interface, and then, when the time comes for serious work, you switch to the dark one, or something.
The UI can be scaled (100%, 150%, 200%). Depending on your desktop resolution and scaling, this may "shift" the entire program out of focus (outside of the viewable part of the screen, as it reads your resolution but ignores any desktop scaling factor), and you won't be able to access all of the relevant buttons and menus.
I showed you exactly this kind of problem in my Maxwell Render article, and how you can sort it out using environment variables. Indeed, for more details on how to handle pretty much any type of program in Linux, and scale it correctly, you may want to consult my mega-duper tutorial on this subject: Linux HD/UHD scaling.
However, here, I wasn't able to scale the DaVinci Resolve UI up or down using any available environment variable. I also couldn't figure out how to reset the UI preferences from the command line, or if there's a configuration file where one can make a simple change. Basically, after switching to 150%, the only remedy was to downscale the laptop's 4K monitor to 100% (from my choice of 225%), which allowed the program to show fully on the screen. I then set the UI scaling back to 100%, and restored the Plasma desktop's scaling back to my desired, preferred setting. Not a biggie, just something for you to be aware of.
Conclusion
And we've reached the end of this little guide. DaVinci Resolves promises to be a beast, and I'm looking forward to trying my cinematographic luck with it, despite the dejecting UI colors. We shall see if the benefits of its capabilities outweigh my ergonomic discomfort. But that's a story for another time. Perhaps you don't have such a worry, and all you need is a way to get the program running on your Linux machine, Ubuntu 24.04 to be more precise. Hopefully, this tutorial provides.
To install the software, you will need a few extra packages (or just skip the package check). Then, once it's installed, you will need to move a few conflicting shared libraries out of the way. Once that step is done, if you're using very old hardware, you can tell the program to use OpenCL. Lastly, be mindful of the UI scaling snags. Well, I guess, that would be all. See you around, and stay tuned for some blockbuster movies. Or something. Or not at all. To be continued.
Cheers.