Root password, network, users
After the system loads, you will enter the configuration phase of the installation. First, you will need choose the Hostname and Domain names. This is somewhat similar to Windows computer name and workgroup. If you are unsure what to choose, you may use the default. You can also refer to the Help button for more information.

The next stage will be to choose the password for the root (super-user or administrator) account. You should select a very strong password. A very strong password is one that contains both lowercase and uppercase letters, numbers and symbols and is not based on dictionary words, for example this is a STRONG password: eD213^krePg9%.
If you like, you may also refer to Expert Options. Under Expert Options, you will be to choose what type of encryption you would like to use to secure your password. If you are unsure what to do, just use the default options.
Do not forget your root password! Engraft it onto your forehead, if needed, but do not lose it. If you forget or lose the root password, you will not be able to retrieve it and your system will be pretty much useless.

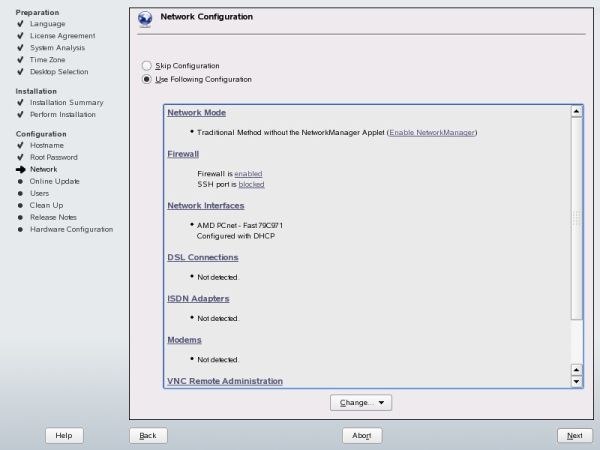
After this, your network will be configured. You will have to wait a few moments for each component to be probed.

Again, you will be able to change individual options. During the installation, you may continue with the default settings. You will be able to set each individual component later. You might want to keep the firewall enabled. Furthermore, if you see a list of devices under Network Interfaces, this means your network card has been successfully recognized by the system. Once satisfied with all of the choices, click Next to continue.
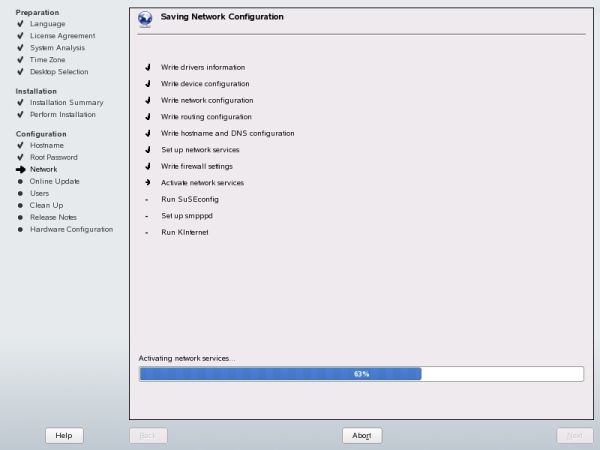
The installer will then save your network settings.
You will be able to test your Internet connection now. If you are installing SUSE in VMware Player with NAT enabled or on a PC that connects to the Internet through another computer, a local network or a router, you might want to test the connection. If you have not yet contacted an Internet Service Provider (ISP) or have doubts about the functionality of your network, you can safely skip this step and do it later.
If you have several network cards in your machine, you might want to decide which one to use to establish the Internet connection. Click Change Device to choose the appropriate card. After that, check mark the desired option and click Next to continue.

If you test your connection (with success), you will see the following screen:

Next, you will be asked to configure your online updates. If you do not have a working Internet connection, leave this step for later. If you have tested your connection successfully, you might want to use the Configure Now (Recommended) option. The installer will define the Update Server and configure the Update Service. You will be able to perform a system update at this stage. This can take up to several hours, depending on your connection speed and server load. You will be able to add extra sources for updates (repositories) once SUSE is fully installed.

After the network settings, you will be asked to configure your user name. As a home user, select Local (/etc/passwd); you should not bother with the other three options. Click Next to continue.

Much like in Windows, it is time to choose your user name. You can configure several users at this stage, but you should best leave that for later on. You should enter a Full Name (real or invented), a Username (in small letters) and some sort of Password. You can choose a weaker password that the root.
Suggestion button will create a username suggestion based on your full name. Automatic Login means you will not be prompted to enter your credentials when booting. User Management allows you to add more users. Leave that option for later.
