Updated: February 27, 2026
Wow, slow down there. Did I just drop a paradox on ye? An oxymoron or something? Well, here's the thing. By default, you will not have write functionality for any NTFS-formatted devices in macOS. I've discovered this recently on me Macbook. Not a biggie, but then, I have lots of legacy stuff from Windows I'd like to copy over, or even just access and use occasionally. This means some method of providing the necessary filesystem support.
One way you can solve the problem is by buying software that does this. And in a way, you should. However, if you don't want to be spending money, there's a somewhat roundabout method by which you could accomplish the same for free, with some rather big caveats. Above all, today's guide is a lovely experiment first and foremost, and a useful and practical and recommended recipe second. But let me show you what I did.
Ingredients
What you need is as follows:
- Virtualization software, like say VirtualBox.
- A Linux-based operating systems, like say Ubuntu (matched to architecture, like say ARM).
- An external, USB-connected device with one or more NTFS partitions on it.
The (avantgarde) method
What I'm going to do is as follows:
- Connect the external disk to the Macbook.
- Launch the Ubuntu virtual machine.
- Use VirtualBox's passthrough option, and mount the USB device into the virtual machine.
- Utilize the Linux's ability to read and write to NTFS (via ntfs or ntfs-3g driver).
- Copy data to and fro using the shared folder functionality in VirtualBox.
Ipso facto, the data path becomes as follows:
USB device - macOS - VirtualBox - Linux - Shared folder on macOS
Thus, I can copy data any which way, it simply takes many more steps than directly, if I had a native driver available in the host operating system.
Why you should and shouldn't do this
Before we continue, let me most majorly reserve my approach here:
- Lo and behold, macOS does have READ support for NTFS. Thus you CAN copy data safely in.
- NTFS support in Linux is not guaranteed. While it could work, it also might not.
- You may encounter bugs, system freezes or even loss of data.
- Working with devices and partitions requires knowledge and attention - you could lose data.
- Did I mention you could lose data?
So, you shoould consider what I offer here an interim, stopgap measure to get data flowing if you really must. A better method is to use network shares - and macOS works superbly with Samba shares. Also, if you need to copy data between operating systems via external devices, consider exFAT. And don't forget the read-only functionality already available. And you can also buy the NTFS drivers if you need to, right.
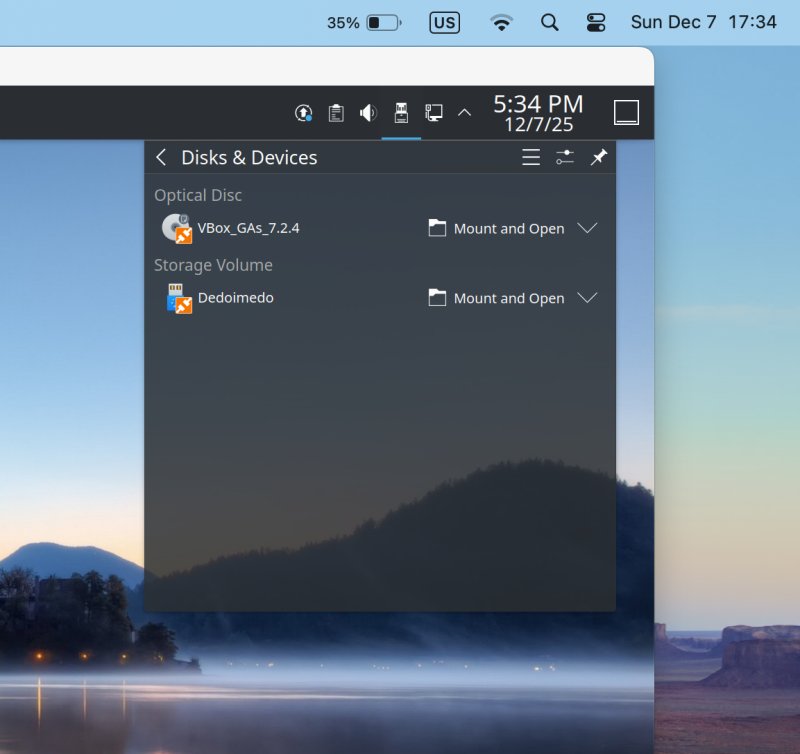
Connect external device with NTFS partitions
It will show in your Finder sidebar. Click to mount. You have read-only functionality out of the box.

Launch Ubuntu-based virtual machine in VirtualBox
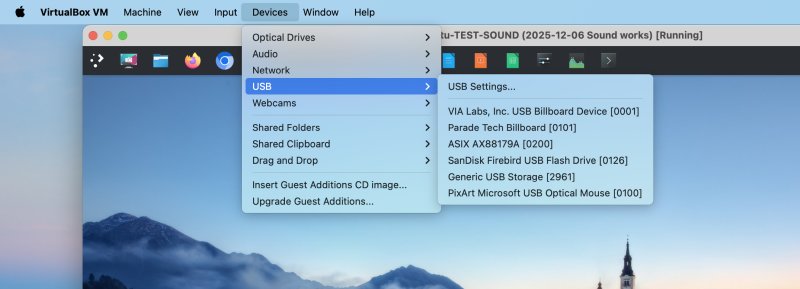
This is the next step. It's not a trivial one, so please check my article on this subject first. Once you have that running, click Devices > USB > select the external disk to be passed through into the guest operating system.
Allow VirtualBox to do this:
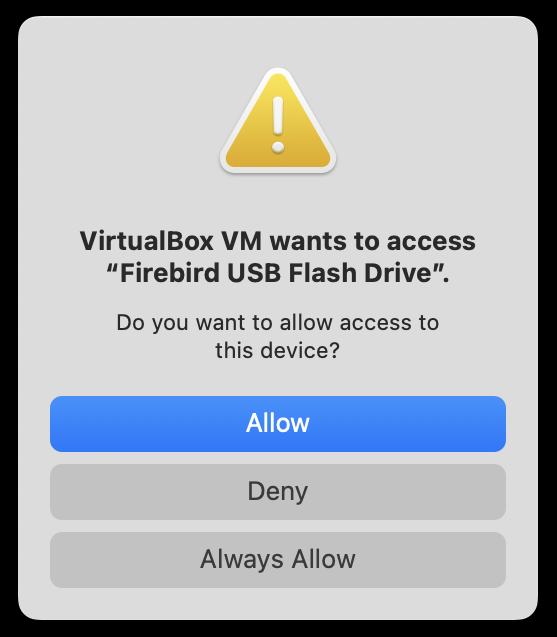
The device will now show in your Linux desktop - it will vanish from your macOS.
Mount device in Linux
Because of security permissions, and how VirtualBox works on macOS, you won't be able to mount the disk through the file manager. You need sudo permissions. Do not launch VirtualBox with sudo, simply use sudo in your Linux, on the command line:
sudo mount -t ntfs /dev/whatever /mount-point
Now, it will show correctly in the file manager, and you can access it. You still might need to give yourself write access or change ownership to the mount point to gain write permissions. For example, if you mount under /mount/something, this folder will belong to root, meaning you only read permissions by default.
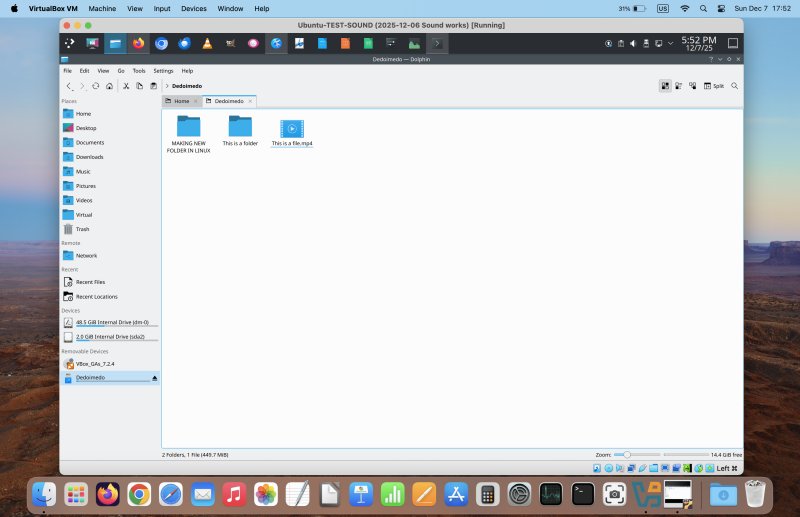
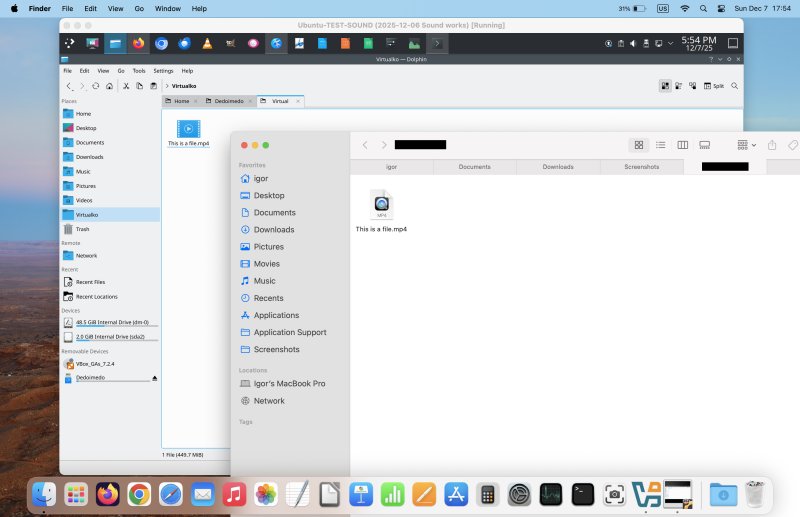
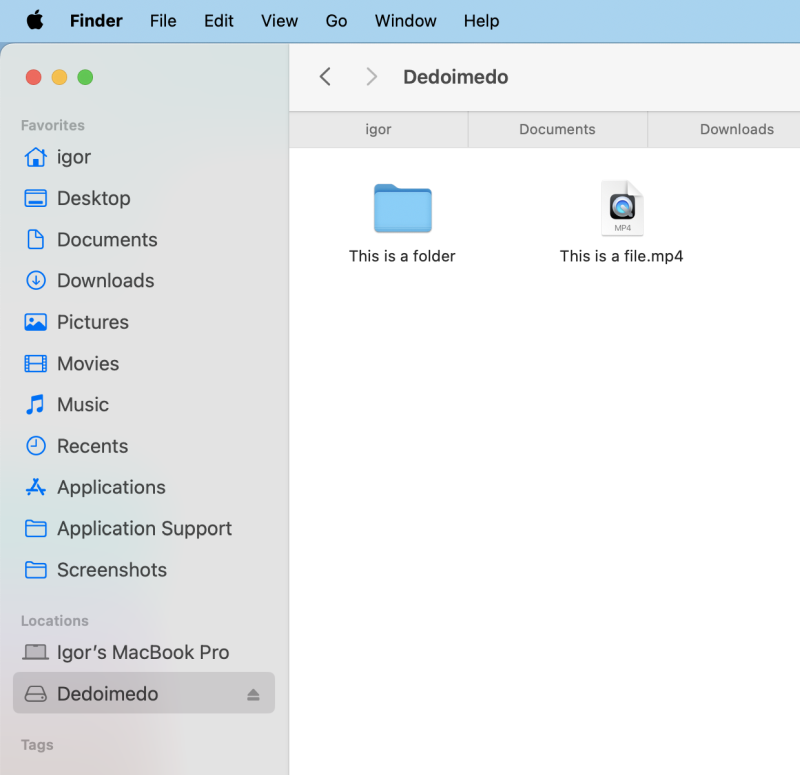
Copy data to and fro
Here you go. Now, if you want to copy data into the USB drive, then copy it from your Mac into the shared folder, and then inside the virtual machine, out of the shared folder and onto the mounted device. Once you're done, unmount the device or shut down the virtual machine. Your device will show in macOS again.
Separately, if you cannot use the shared folder functionality, you can use port forwarding and SSH to copy data in and out of the virtual machine. This will allow you to move your data around even in scenarios where you cannot use guest additions (even for security reasons), and it provides extra flexibility, including scripting and backups.
Possible problems
Other than potential data loss that I mentioned earlier, you may also encounter an issue of a filesystem that hasn't been correctly unmounted elsewhere, so the Linux guest may choose not to mount it:
An error occurred while accessing 'Dedoimedo', the system responded: The requested operation has failed: Error mounting /dev/sdb1 at /media/igor/Dedoimedo: wrong fs type, bad option, bad superblock on /dev/sdb1, missing codepage or helper program, or other error
Or perhaps:
sudo mount /dev/sdb1 /mnt
$MFTMirr does not match $MFT (record 0).
Failed to mount '/dev/sdb1': Input/output error
NTFS is either inconsistent, or there is a hardware fault, or it's a
SoftRAID/FakeRAID hardware.
...
If this happens, you can run the ntfsfix command (part of the ntfs-3g utility package in Ubuntu):
sudo ntfsfix /dev/sdb1
Mounting volume... $MFTMirr does not match $MFT (record 0).
FAILED
Attempting to correct errors...
Processing $MFT and $MFTMirr...
Reading $MFT... OK
Reading $MFTMirr... OK
Comparing $MFTMirr to $MFT... FAILED
Correcting differences in $MFTMirr record 0...OK
Correcting differences in $MFTMirr record 3...OK
Processing of $MFT and $MFTMirr completed successfully.
Setting required flags on partition... OK
Going to empty the journal ($LogFile)... OK
Checking the alternate boot sector... OK
NTFS volume version is 3.1.
NTFS partition /dev/sdb1 was processed successfully.
Then, you can try again, and it should work. But remember, once again, this isn't 100% failsafe, macOS notwithstanding. You may encounter all sorts of problems working with NTFS in Linux. The above scenario simply adds yet more complexity.
Conclusion
This nerdy tutorial is probably cooler than practical, although it has its merits. It demonstrates the flexibility of using several operating systems side by side, with virtualization as the bridge between the different entities, in this case macOS with read-only support for NTFS, and Linux with (some) NTFS write support. Quite handy, if you think about it. Perhaps this should help you move your data around, if you're migrating away from Windows, and you need some way to export your stuff.
Now, you can go even wilder. You can combine this with native Linux TrueCrypt and VeraCrypt container support, as I showed you only a few days ago. Thus, if you have external devices with these containers inside which you use NTFS, and you wish to continue using them on macOS and Windows, with read and write access, then you can utilize your Linux virtual machine once more. Pass through your external device into the guest operating system, mount it, mount the encrypted container, copy and write data. Sweet. Perhaps I should write a separate tutorial on this, too. Well, hopefully, you will find this quite useful. Remember, this could be finicky, you could lose data, and make sure you have multiple, verifiable backups. We're done here.
Cheers.