Updated: March 5, 2026
Let me present you with a scenario. You are a former or current Windows user, check. Once upon a time, you discovered TrueCrypt (and possibly VeraCrypt) and are using it, check. For compatibility reasons, your containers are formatted with NTFS, check. They reside on external USB drives, which also use NTFS as their filesystem, check. You got yourself a Macbook, with Apple Silicon, ergo ARM processor, check. And now you want to use your legacy Windows stuff on this new system. Check mate.
I found myself facing this very challenge. The problems are multiple. The processor architecture to start with. There ain't no native TrueCrypt builds for this family of chips. If you use VeraCrypt, there are, but the version that supports legacy containers is somewhat old. MacOS can do NTFS read only, but not write. The list of potential obstacles is long. Luckily, there is a solution. It ain't trivial, but its doable. For nerds only. Now proceed.
Step 1: Setup Linux virtual machine
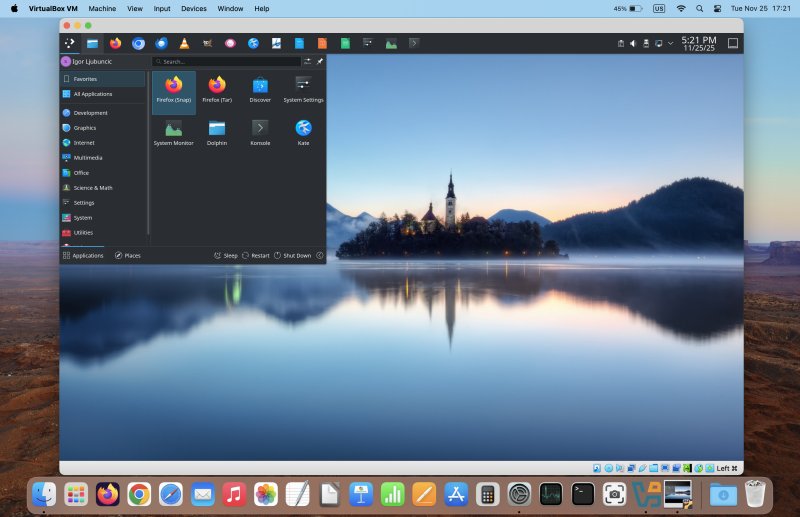
We want this as it will allow us to 1) use NTFS in read/write mode 2) mount TrueCrypt containers natively, without depending on any particular version of software. Since you ask, yes, I already have a tutorial on both these topics. First, allow me to present you with my guide on how I set up my own Plasma distro. In effect, it's an ARM-build server edition of Ubuntu, with the Plasma desktop on top of it, installed as a guest operating system in a VirtualBox machine in macOS. Works great, looks great, and it gives us access to a whole range of lovely tools and options.
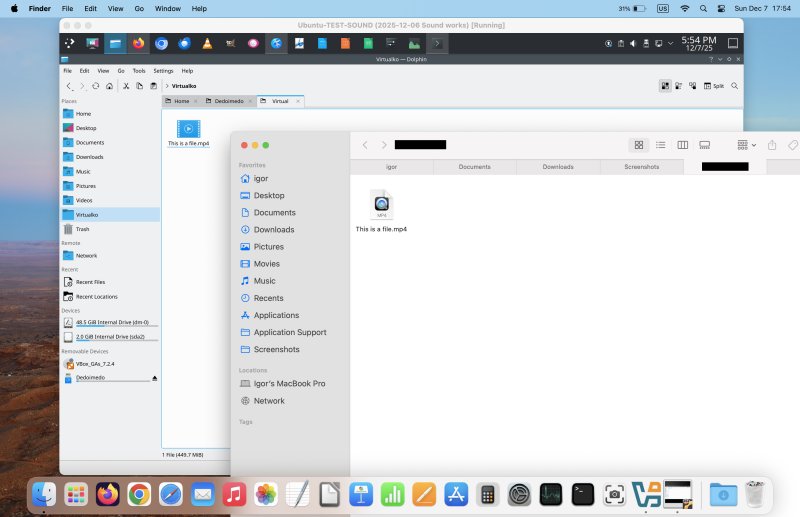
Step 2: Mount external USB drive, pass through into VM
Yes, I have a tutorial on this topic, too. You will gain read/write ability to NTFS. This will allow you to mount your TrueCrypt container inside your Linux machine, and then perform additional operations with the data stored inside the container's filesystem.
Step 3: Mount TrueCrypt container natively
Yes, three out of three! I've written a guide on how to accomplish this, as well. You can use the dmcrypt utility to mount TrueCrypt volumes, without relying on either the original program, its successor VeraCrypt, any specific dependency on this or that Linux distro version or architecture compilation, or any permutation thereof. The functionality is built into the system, and available everywhere. Well, most modern Linux distributions ought to support this, but my preferred choice is Ubuntu and flavors.
sudo cryptsetup tcryptOpen [container name] [mount point]

And there you go. Combine all three. Profit! You can now access your data, port it, move it, whatever.
Conclusion
My tutorial isn't simple in that you need to "master" virtualization, Linux, plus a handful of Linux tools. However, it is freely available (as in zero cost), and it should work okay. Don't expect miraculous performance or spotless filesystem behavior. In a way, yes, this is sort of a trick, and it relies on unsupported methods to achieve cool functionality. In other words, don't use this as your best or only method of data storage or backup. This tutorial should mostly be used to retrieve "stuck" data, or when really necessary. Otherwise, you could end up with data corruption, so be warned. You could also buy an NTFS driver for macOS, if you like, but that's beyond the scope of this article, and it won't resolve your TrueCrypt issues.
However, if you are of the nerdy predisposition - and let's face it, you wouldn't be reading this guide if you were not - then you can experiment and see what you achieve. If you do manage to follow all the way through, you will have gained good knowledge and freedom of operation in your cross-platform, cross-system, cross-arch setup. It will allow you to access and even write data freely, with all three major desktop operating systems involved. Hopefully, you find this tutorial useful, or at the very least, educative and entertaining. Take care.
Cheers.