Updated: March 17, 2012
You know I like fiddling with multimedia, creating movies and whatnot. So far, I've tried to impress you with several productions. There was my Frankenstein movie. You also learned about Avisynth, which lets you add fluid motion to slowed-down videos by compensating for jerky transition between frames. And we had a tutorial on how to resize clips using VirtualDub and its powerful filter set. Speaking of VirtualDub ...
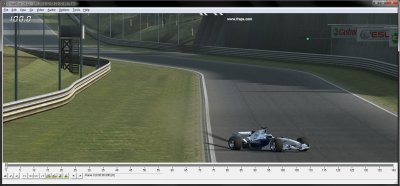
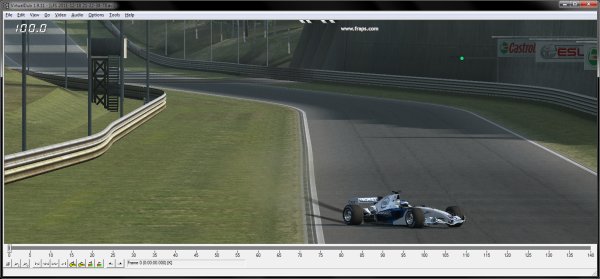
A few weeks ago, I polished my Live For Speed game review and added new screenshots and Youtube movies. One of the clips features a spectacular loss of control in a Formula 1 car, in slow motion, with audio pitch altered and all that, somewhat similar to Allan McNish during the 2011 Le Mas 24 endurance race, where he crashed at 250kph into the tire barrier. Let me show you how I did that.
Slow down video
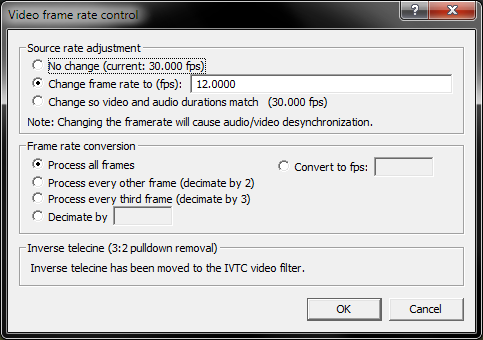
Changing the speed of the video is quite easy. You merely need to change the framerate, recompress and Bob's your uncle. But if you do this, you will notice that the audio will remain unaltered and play at its normal speed, usually ending quite a bit before the slowed down video. This is not what you want.
Match audio to video
Now, you will also need to change audio. Instead of direct streaming copy, select Full recompress, set the correct audio compression. Then, mark Use advanced filtering. This will enable the Filters category in the Audio sub-menu. Click there.

This will open the filters menu. Using audio filters is a little more complicated than videos, as you will need to specify input and output and connect them with wires to the relevant filters.
Click Add and then place input, stretch, ratty pitch shift (optional) and output. You will notice an arrow stretching between each two boxes. It is important to have a complete flow from input to output, otherwise you will get errors.
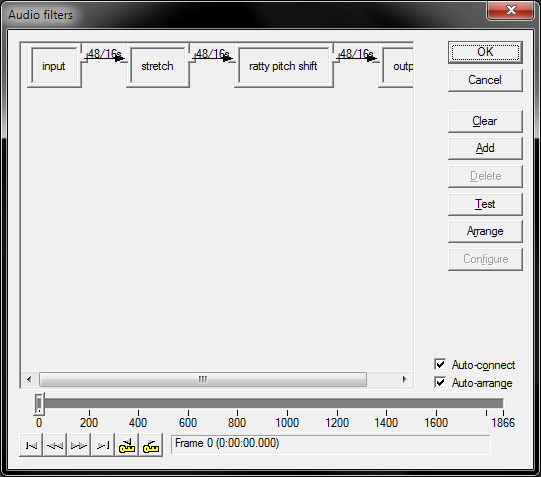
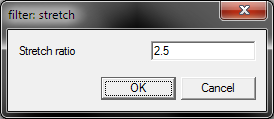
Now, you need to configure the stretch ratio, which should match the video change. For instance, if we slowed down the video from 30 FPS to 12 FPS, we also need to stretch our audio by a factor of x2.5. Likewise, you may want to edit the pitch shift as the frequency will be reduced, making the audio sound deeper, more hollow. You can edit each filter by clicking on the Configure button or double-clicking the relevant box in the diagram.
Basically that's all. Recompress. Watch.
My earlier mentioned video is a good example.
Conclusion
This is a fairly short tutorial, but it is not trivial. Working with audio filters in VirtualDub takes some skill, but once you get the hang of it, especially how to connect the wires between input and output and different filters, you will start enjoying yourself. Plus, the quality of your productions will go up. Another notch in your belt, I dare say.
Finally, if you're interested, hop into my Youtube channel and peruse the quality material stored there. Have fun.
Cheers.