Updated: March 25, 2013
You have watched and absolutely loved my trollsome Windows 8 video guide posted in my Youtube channel. Not only that, you also wondered how I got the different pieces together, like the clip, the audio, any post editing and such like.
I have given you a detailed tutorial on how I did something similar with my Frankenstein experiment, using freeware tools in Linux. We will do the same thing here. Basically, most of the stuff will be familiar, but another lovely guide on media processing should not hurt the enthusiasts among you. So do read, please.
The setup
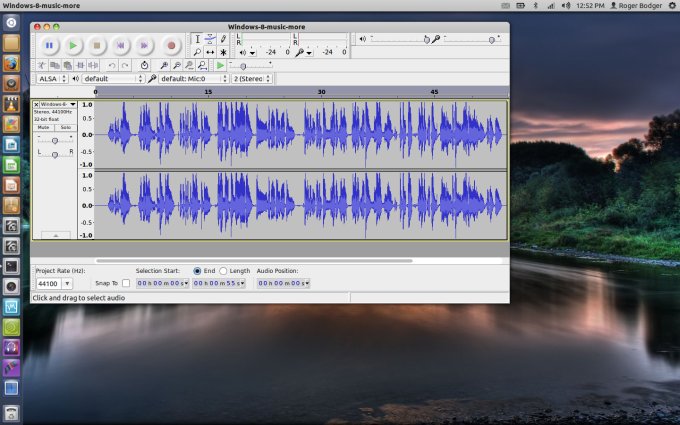
Compared to my Frankenstein thingie, the Windows guide was relatively simple. I did not have to film real life footage, instead I needed only record desktop activity. My first step was to sing into a microphone and record my lovely singing using the simple sound recorder software. To that end, I used Audacity, an old friend of ours. My recording was about 55 seconds long.
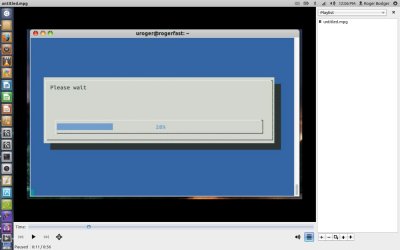
Next, I created the BASH script that simulates the installation. Then I fired it up in a terminal window. At the same time, I used recordMyDesktop to capture the shell and its awesome activity.
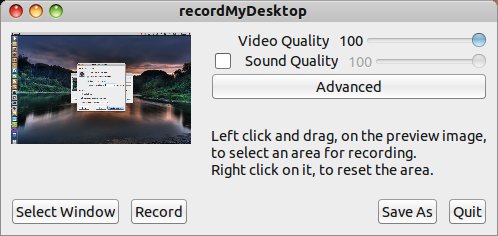
I captured the video without sound, as I intended to splice the two tracks together, video and audio. In general, it's wiser to do this separately, because you have more control over the timing and sync.
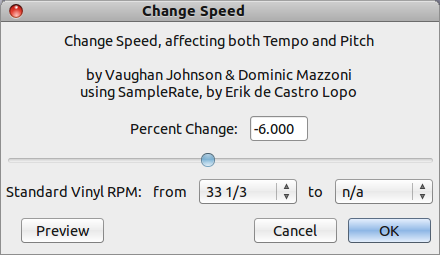
Then, I compared the video length with the audio track and noticed the two were not exactly identical. So I did several trial & errors runs changing the script counter times to match them to audio. Moreover, I used the Change Speed filter in Audacity to slightly alter the pitch of my recording.
Kdenlive was next. Even though I was running Ubuntu, I decided to go for this KDE software, because it is powerful and useful. Indeed, the new version comes with a lot of fresh goodies, including even Web camera integration.
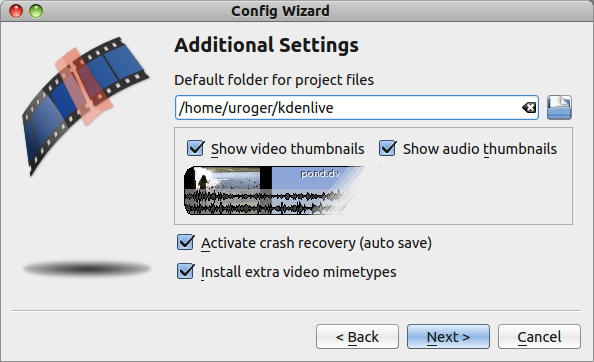
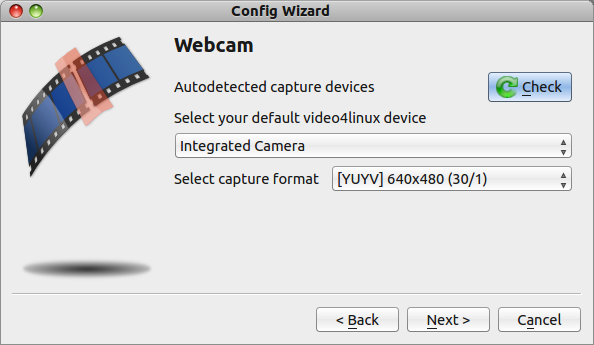
In Kdenlive, I placed the two tracks together and rendered the final footage, without any special effects. I was thinking about adding intro and exit effects, but decided against them, as they might take away from the ultra-important message of the video.
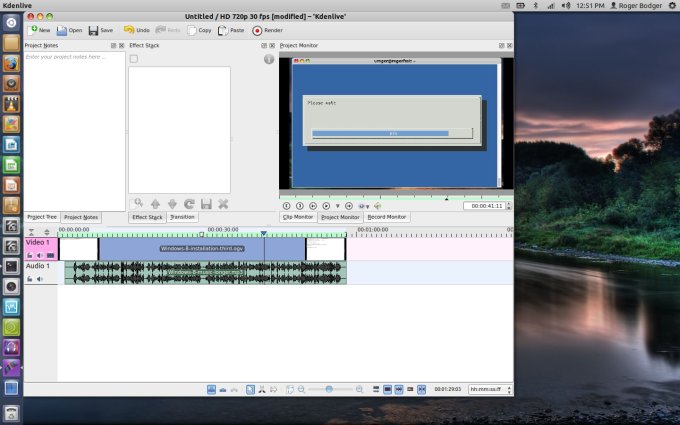
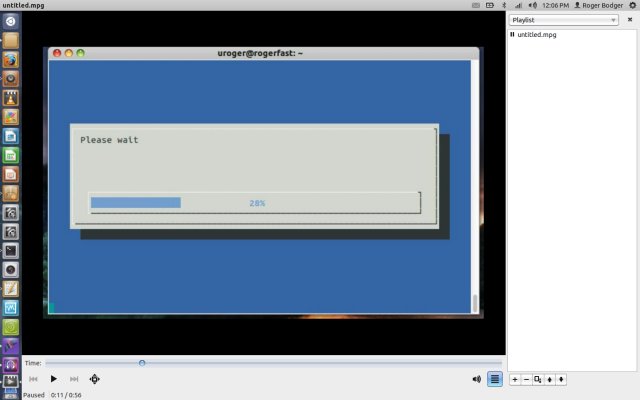
And that was all, we were done, up and running. In this last stage, you can choose with aspect ratio, format and container you want for your video, although pretty much anything goes if you intend to post it on Youtube.
Conclusion
This is a fairly simple and straightforward tutorial. Nevertheless, it introduces several highly useful multimedia processing tools. We have the sound recorder, we have recordMyDesktop for capturing tracks of desktop activity. Although this one only works for X windows apps and not for anything directly rendered with OpenGL, so you would need something like glc for that. Then, we used Audacity to manipulate the sound, and finally put everything together using Kdenlive. As with any multimedia project, the actual footage took about 1/100th time needed to make the final cut.
I hope you liked this. I will not spam you with a dozen links to my many other highly useful tutorials on media stuff, including slow motion, subtitles, encoding, tools and programs, and more. Head back into the main section, or begin your hunt with the few articles highlighted above. That would be a great starting point. Anyhow, my directing skills just went up a notch. See ya.
Cheers.