Installation
Let's begin.
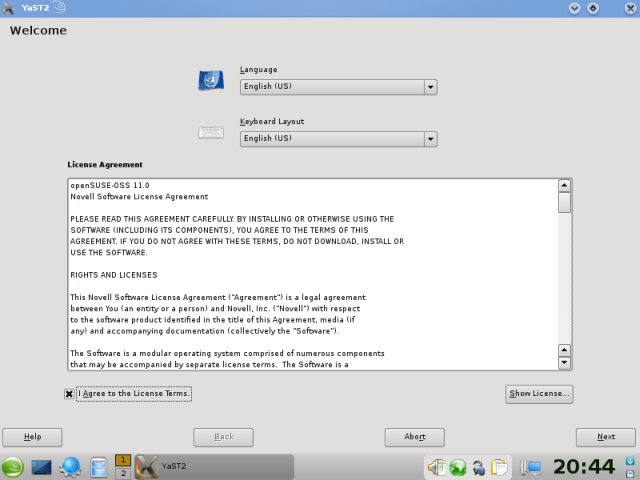
First, you will have to accept the License Agreement.
Next, you will have to setup your time zone.

Partitioning
Here comes the tricky part. Not really, but definitely one of the more important parts of the installation.

If you do not like the suggested layout, click Edit Partition Setup... I warmly recommend this. It allows you to learn and avoid mistakes. Since the hard disk is empty, we'll be asked to create a partition. We'll create a primary partition. This will be our root (/).


The partitioning menus can be overwhelming, because there are so many options, like NFS, RAID, LVM, and more. Do not worry. You need a very small subset of options to get things done. First, our root:

You can specify the size in cylinders or GB (something like 5GB). Make sure you select the right File system format (ext3, for example) and assign the right Mount Point (/).
Let's also see what we have under Options and Fstab Options.
Options
This menu allows you to change the size of blocks and bytes per inode. These are truly expert settings that normal users need not fuss with. However, in case you do wish to change anything, you have the help column on the left side, explaining the meaning of each option.

Fstab Options
This menu allows you to configure how the created partition is treated inside the operating system. Namely, you can mount it as read-only; for instance, a Windows partition. You can also allow regular users to mount the partition or enable quotas. You can also choose how the partition is mounted - by its ID, label, device name, or other notations.

In general, all these options are truly optional and beyond the scope of average users. But it is useful to know that they exist and where to find them, even if you do not intend to use them.
Do not worry if you misconfigure anything, you can always change the settings after the distro is installed, via the YaST2 control panel. Lastly, you can encrypt your partition(s), which is very hardy for laptops or computers with sensitive data.
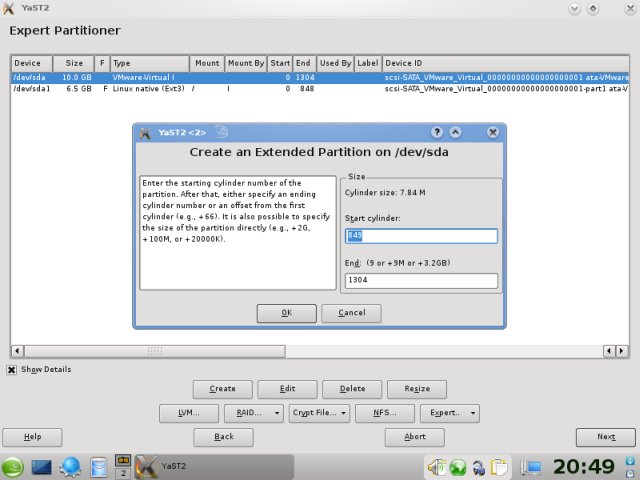
So now, we have our root created:

Let's create the Extended partition and place our swap and home there.


This concludes our partitioning. Once you're satisfied, click Next to continue.
On the production system ...
On the production system, there already was an Ubuntu 8.10 Intrepid Ibex installed, so I had to be more careful with the choice of partitions. My experience was as follows:
openSUSE prefers Primary partitions for the installation, so when there was only one such partition available (already occupied by Ubuntu), excluding the Extended partition with numerous Logical ones, openSUSE ungracefully selected it as its choice for root (/), creating a possibility for data loss.
On another occasion, with two more free primary partitions available, in addition to sda1 held by Intrepid and sda2 being the Extended, openSUSE did not meddle with the existing choices.
My advice is to make sure you have at least one primary partition free for SUSE. Although this is not a necessity, it will will help you avoid overwriting your existing setup in case you're not careful enough or pay too little attention to the suggested layout.
On the next page, we'll complete the installation.