Updated: August 3, 2014
You know I am a 3D aficionado. And for the past several years, I have been dabbling in all kinds of 3D software, including rendering engines and programs. At the top of my list is Kerkythea, which lets me make some really nice magic from my 3D models. But I am always searching for new candidates.
So I stumbled across YafaRay, an open-source raytracing engine. Sounds interesting, and the official gallery images show quality that is equal to that of other engines out there. Which is why I set about exploring.
Installation - The best and worst of open-source
YafaRay presented me with a problem right away. How the hell do you install it? Or if I'm allowed to use a meme, then How do I installed YafaRay? As it turns out, the official site is not helpful. It lists an outdated version 0.1.1 as its current stable build, but the actual news and the download links are for a much newer 0.1.5 release.
Then, you get binaries for all sorts of platforms. But if you're expecting something like Kerkythea, with its own GUI and all that, you are mistaken. YafaRay comes as an engine only, and it is used inside Blender, so you need Blender first, and then, you can install the engine and use it instead of the default one. But that's not the only option. You see, Blender is fine, as long as you have models saved as 3DS, if not, you're in a bit of a spot, and you will need to invest time trying to find the right way to convert your your models, unless you go for expensive payware solutions.
The second way of using YafaRay is as a plugin for SketchUp, similar to what Kerkythea and POV-Ray do. Again here, the information is sparse, and rumors say you need a special build that only works for specific versions and flavors of SketchUp, although I was pleasantly surprised to learn that this is not the case. Now, let's work.
Using YafaRay
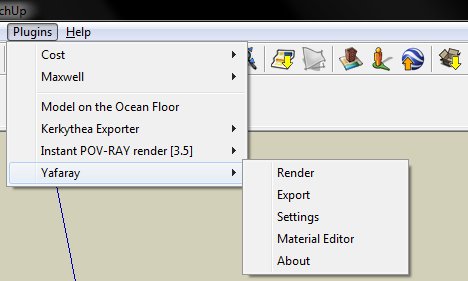
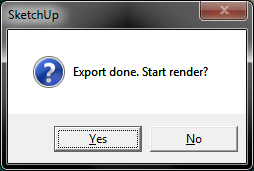
Inside SketchUp, go to Plugins > YafaRay. You can render your model instantly, but you might want to export it first, especially if you intend to use it inside Blender. You might also want to play with settings and materials to make your work more realistic.
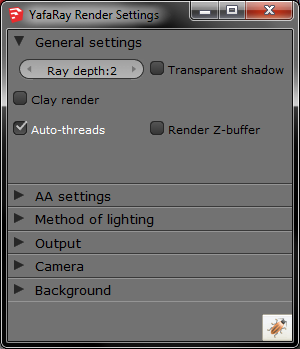
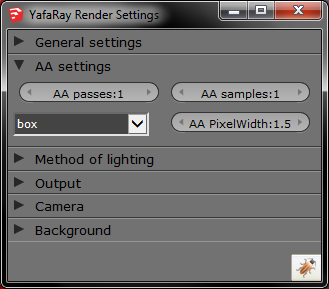
Now, in the Settings menu, and inside the Material Editor, you can start slowly making all the grueling changes that transform plastic-like objects into realistic life models.
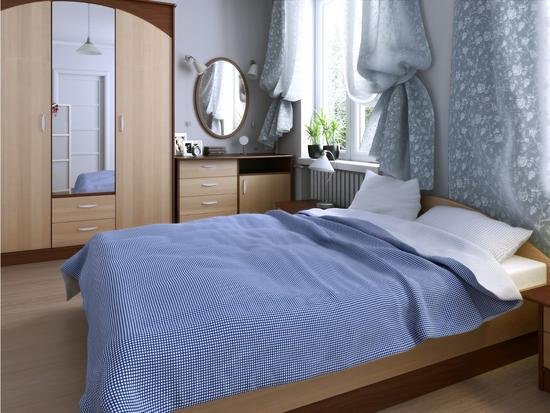
And the rendered sample, first and quick attempt:
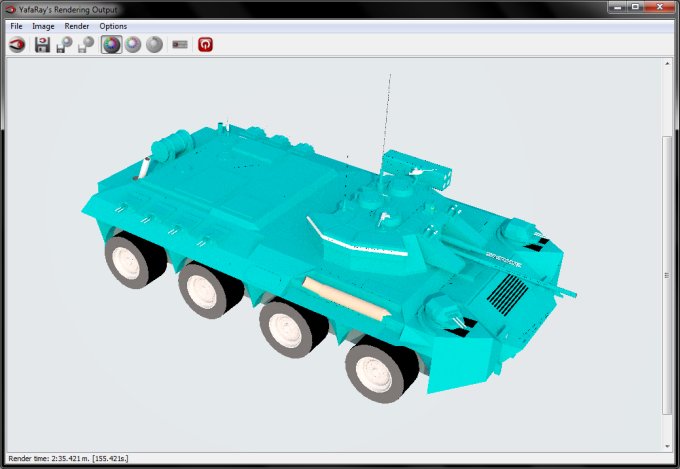
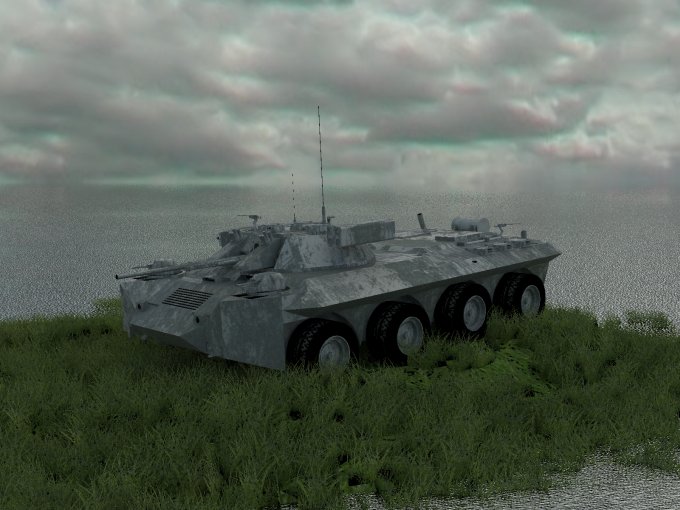
I must admit I was not too impressed, mostly with the textures. Seems like YafaRay has about the same learning curve like POV-Ray, and it takes the same approach of manually tweaking materials by editing vector indices in a text file. Seems like it. So let's see how long it will take me to get here, which I did with Kill Mobil in Kerkythea:
But that is not all!
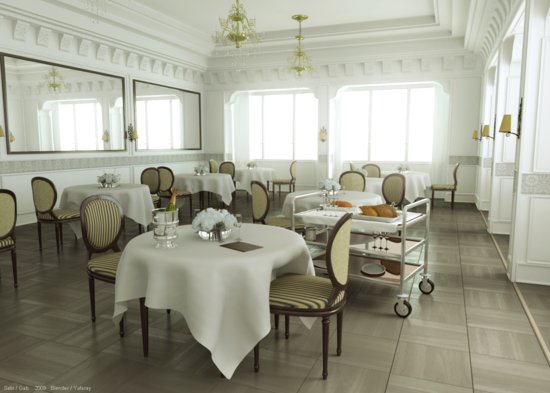
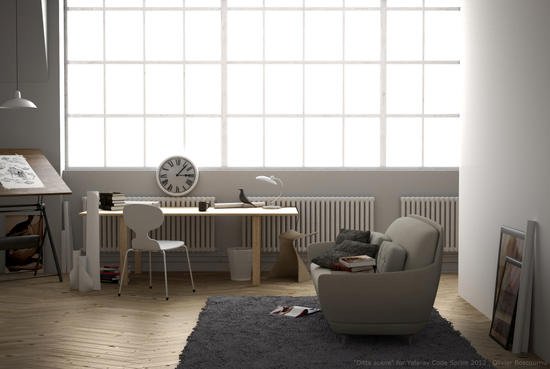
Sure. Do not let this discourage you. In fact, if you browse the official gallery, you will find some really cool examples, a true inspiration and a challenge, so I sure will try to see whether I can get the same results. To wit, great art, courtesy of yafaray.org.
More reading
Some articles worth exploring - the list is partial:
Kerkythea plugin for SketchUp
Fog effect in Kerkythea
Kerkythea instancing brush
Twlight Render software
Conclusion
YafaRay does feel a bit beta, and I am concerned about the convoluted path to get it setup and running. I am also somewhat apprehensive of spending days learning the materials and textures, although that's 99% of the fun with rendering. But the approach needs to be more intuitive, and for some reason, I happen to find Kerkythea the best of the bunch.
All in all, this could become a solid, efficient rendering engine, but it should have its own proper GUI, it should offer an easy installation, and there must be a simple way of working with materials, so that you get to see those lovely images sooner, and draw inspiration from them for future work. Well, there we go. Another goodie to explore. Stay tuned.
Cheers.